
Slab Flattening and Finishing
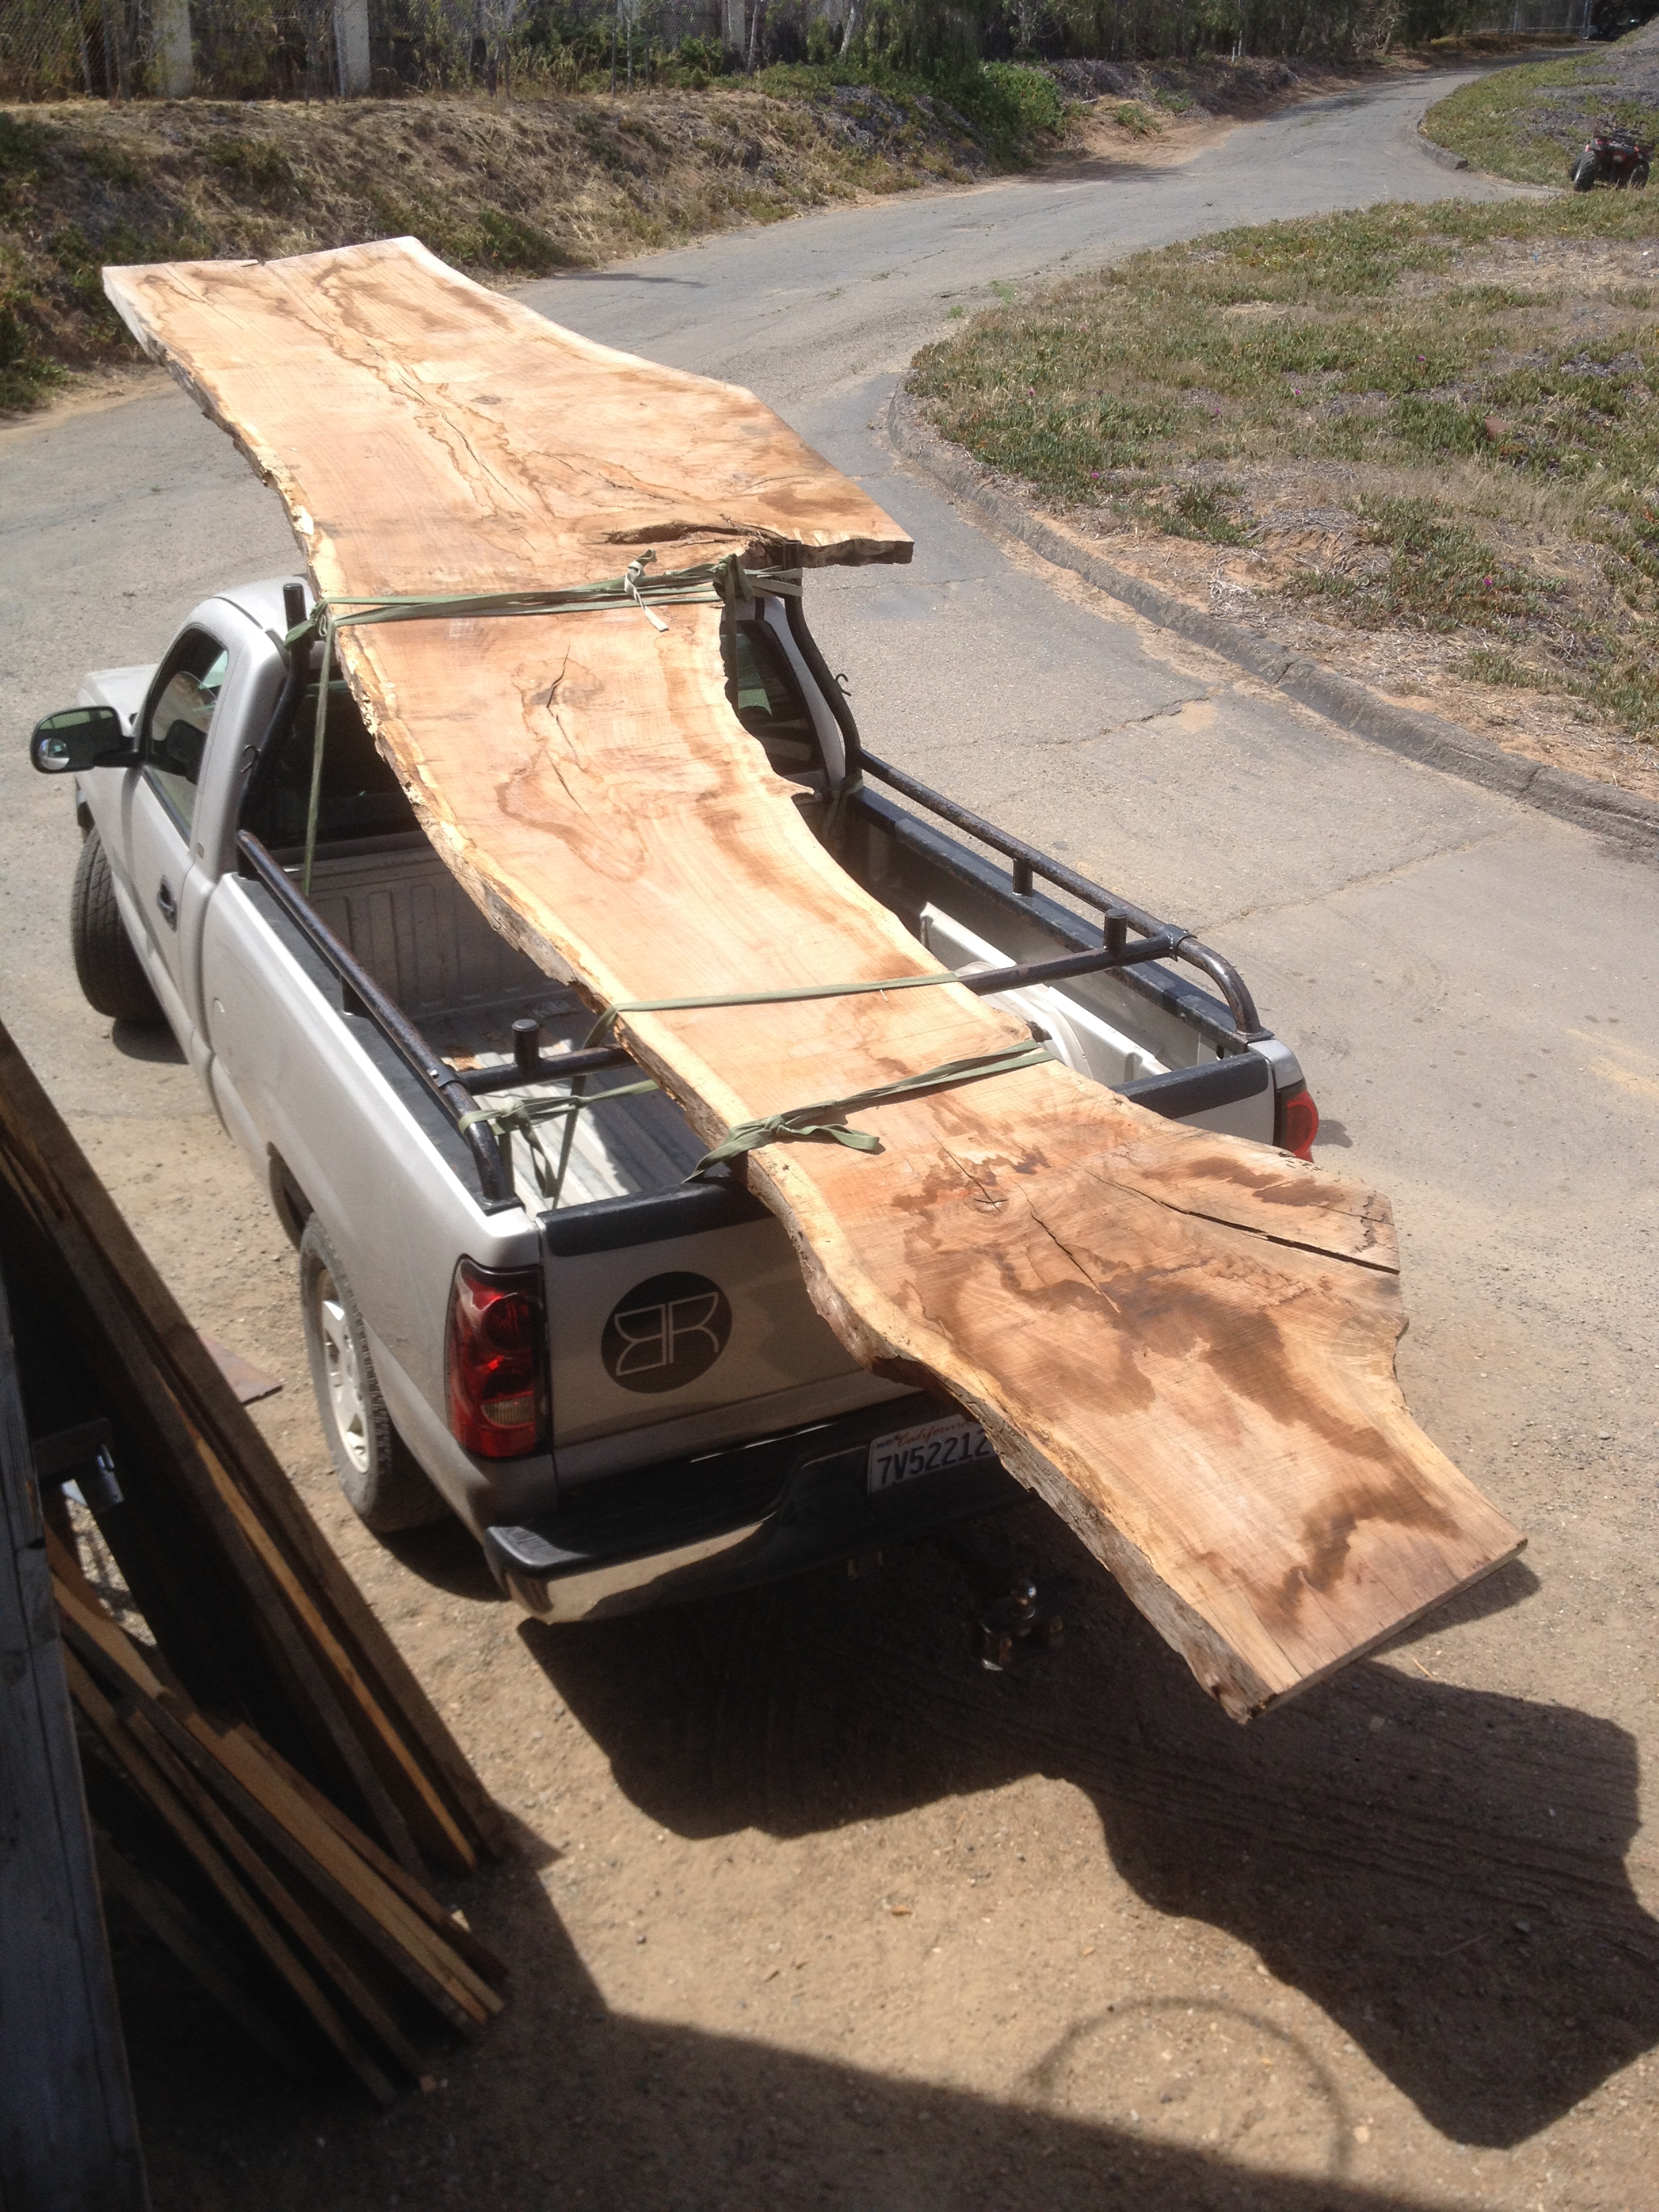
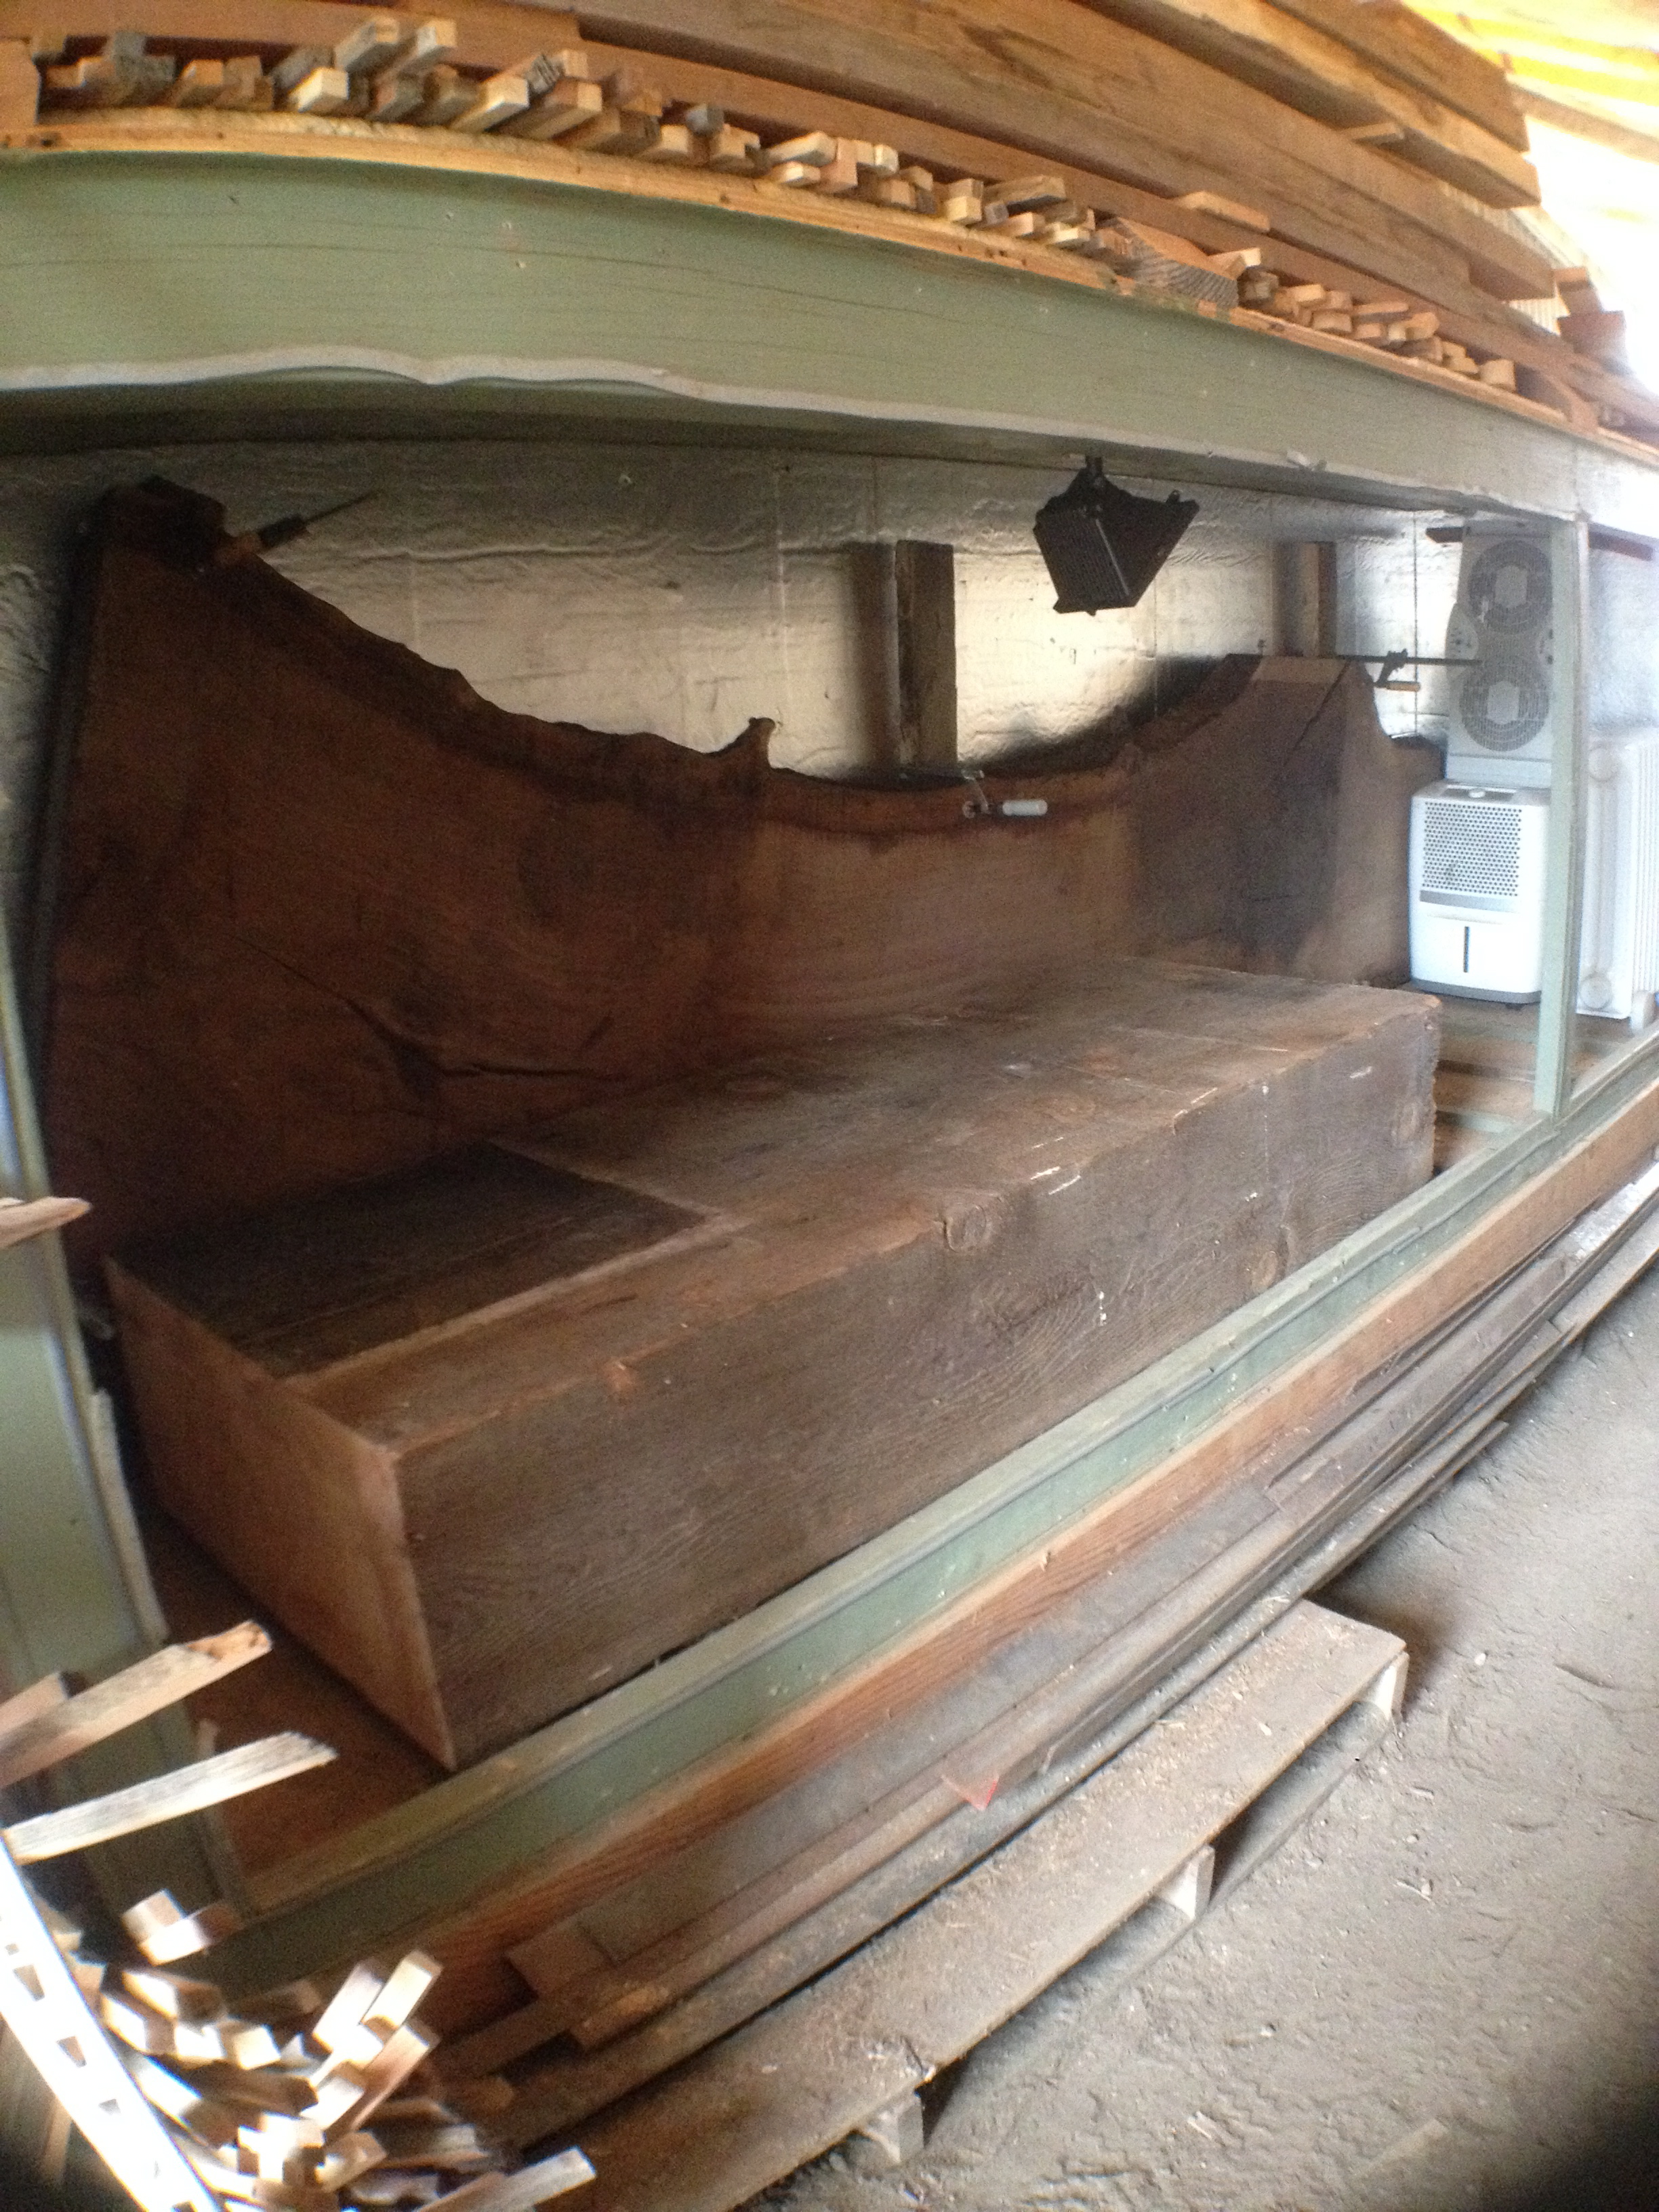
/A few people have asked about the process of making a rough slab into a finished piece. Here are some photos and a brief description of a walnut slab project I recently finished. This black walnut slab was air-dried to 10-12% mc, so I started by sticking it in my dehumidifier kiln to bring it down to about 8% mc. After the drying was complete, I cranked up the kiln heat to 140 degrees for 72 hours. This heat kills any bugs that might still be hiding in there.
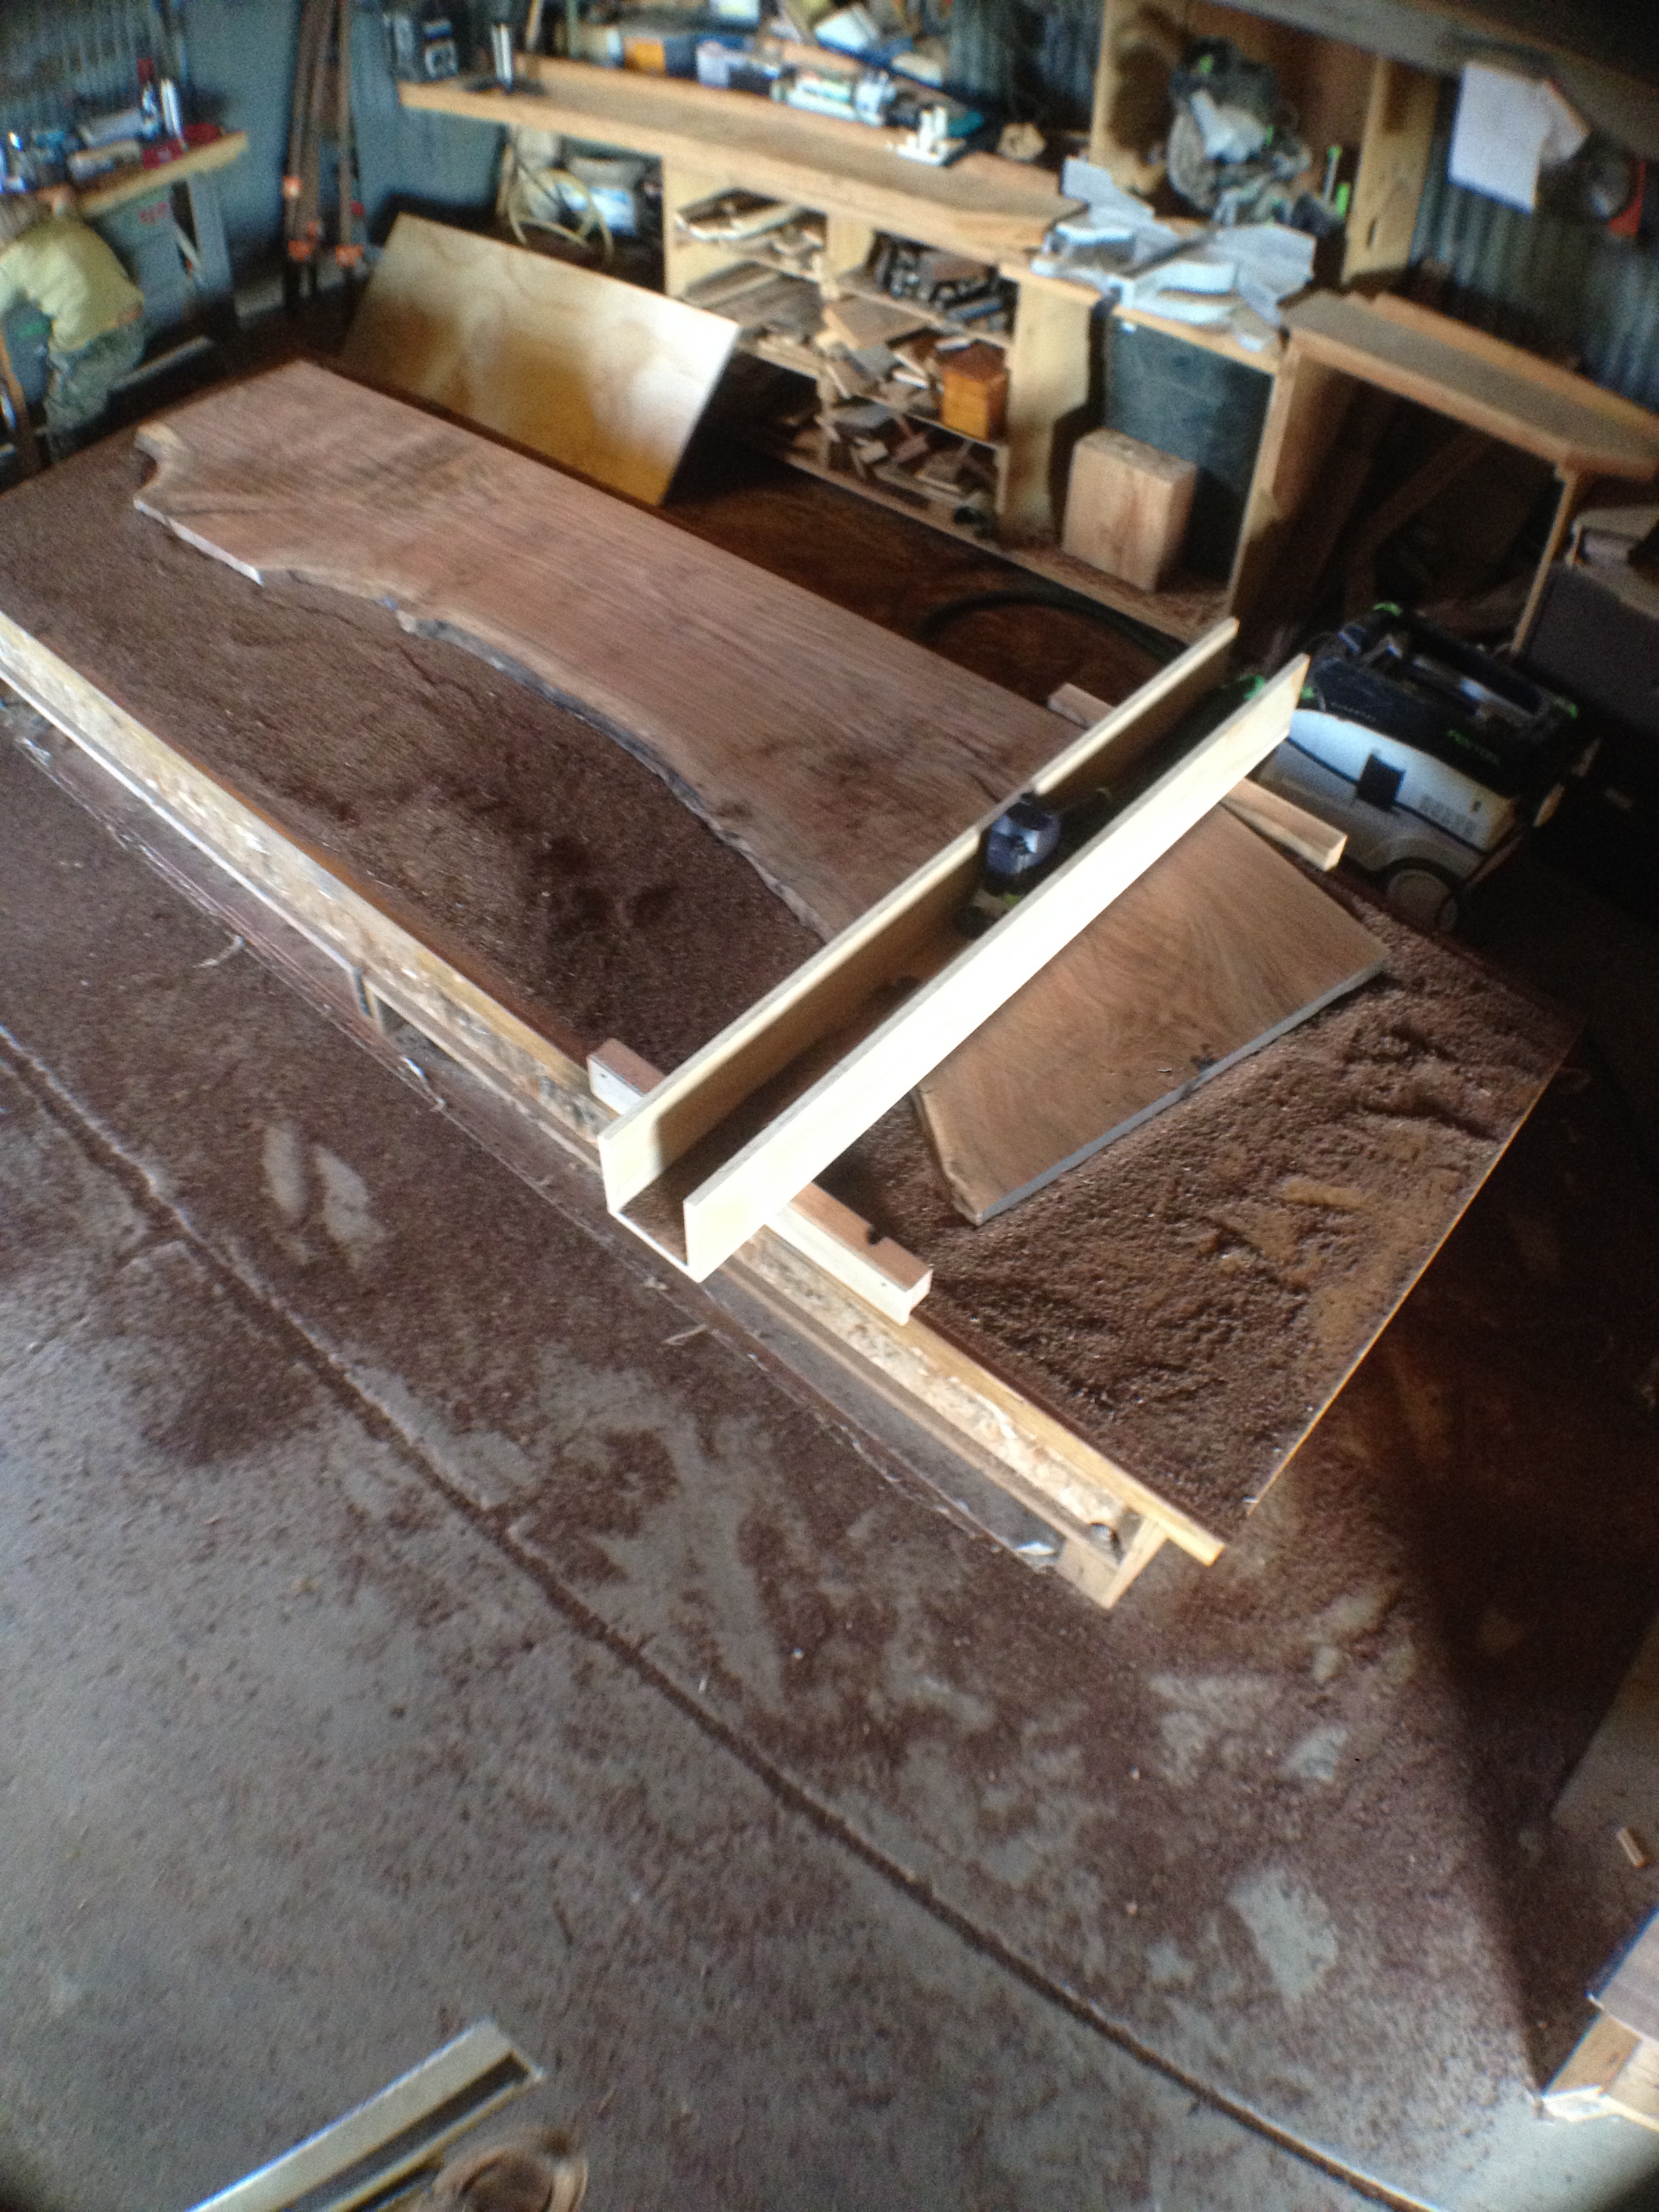
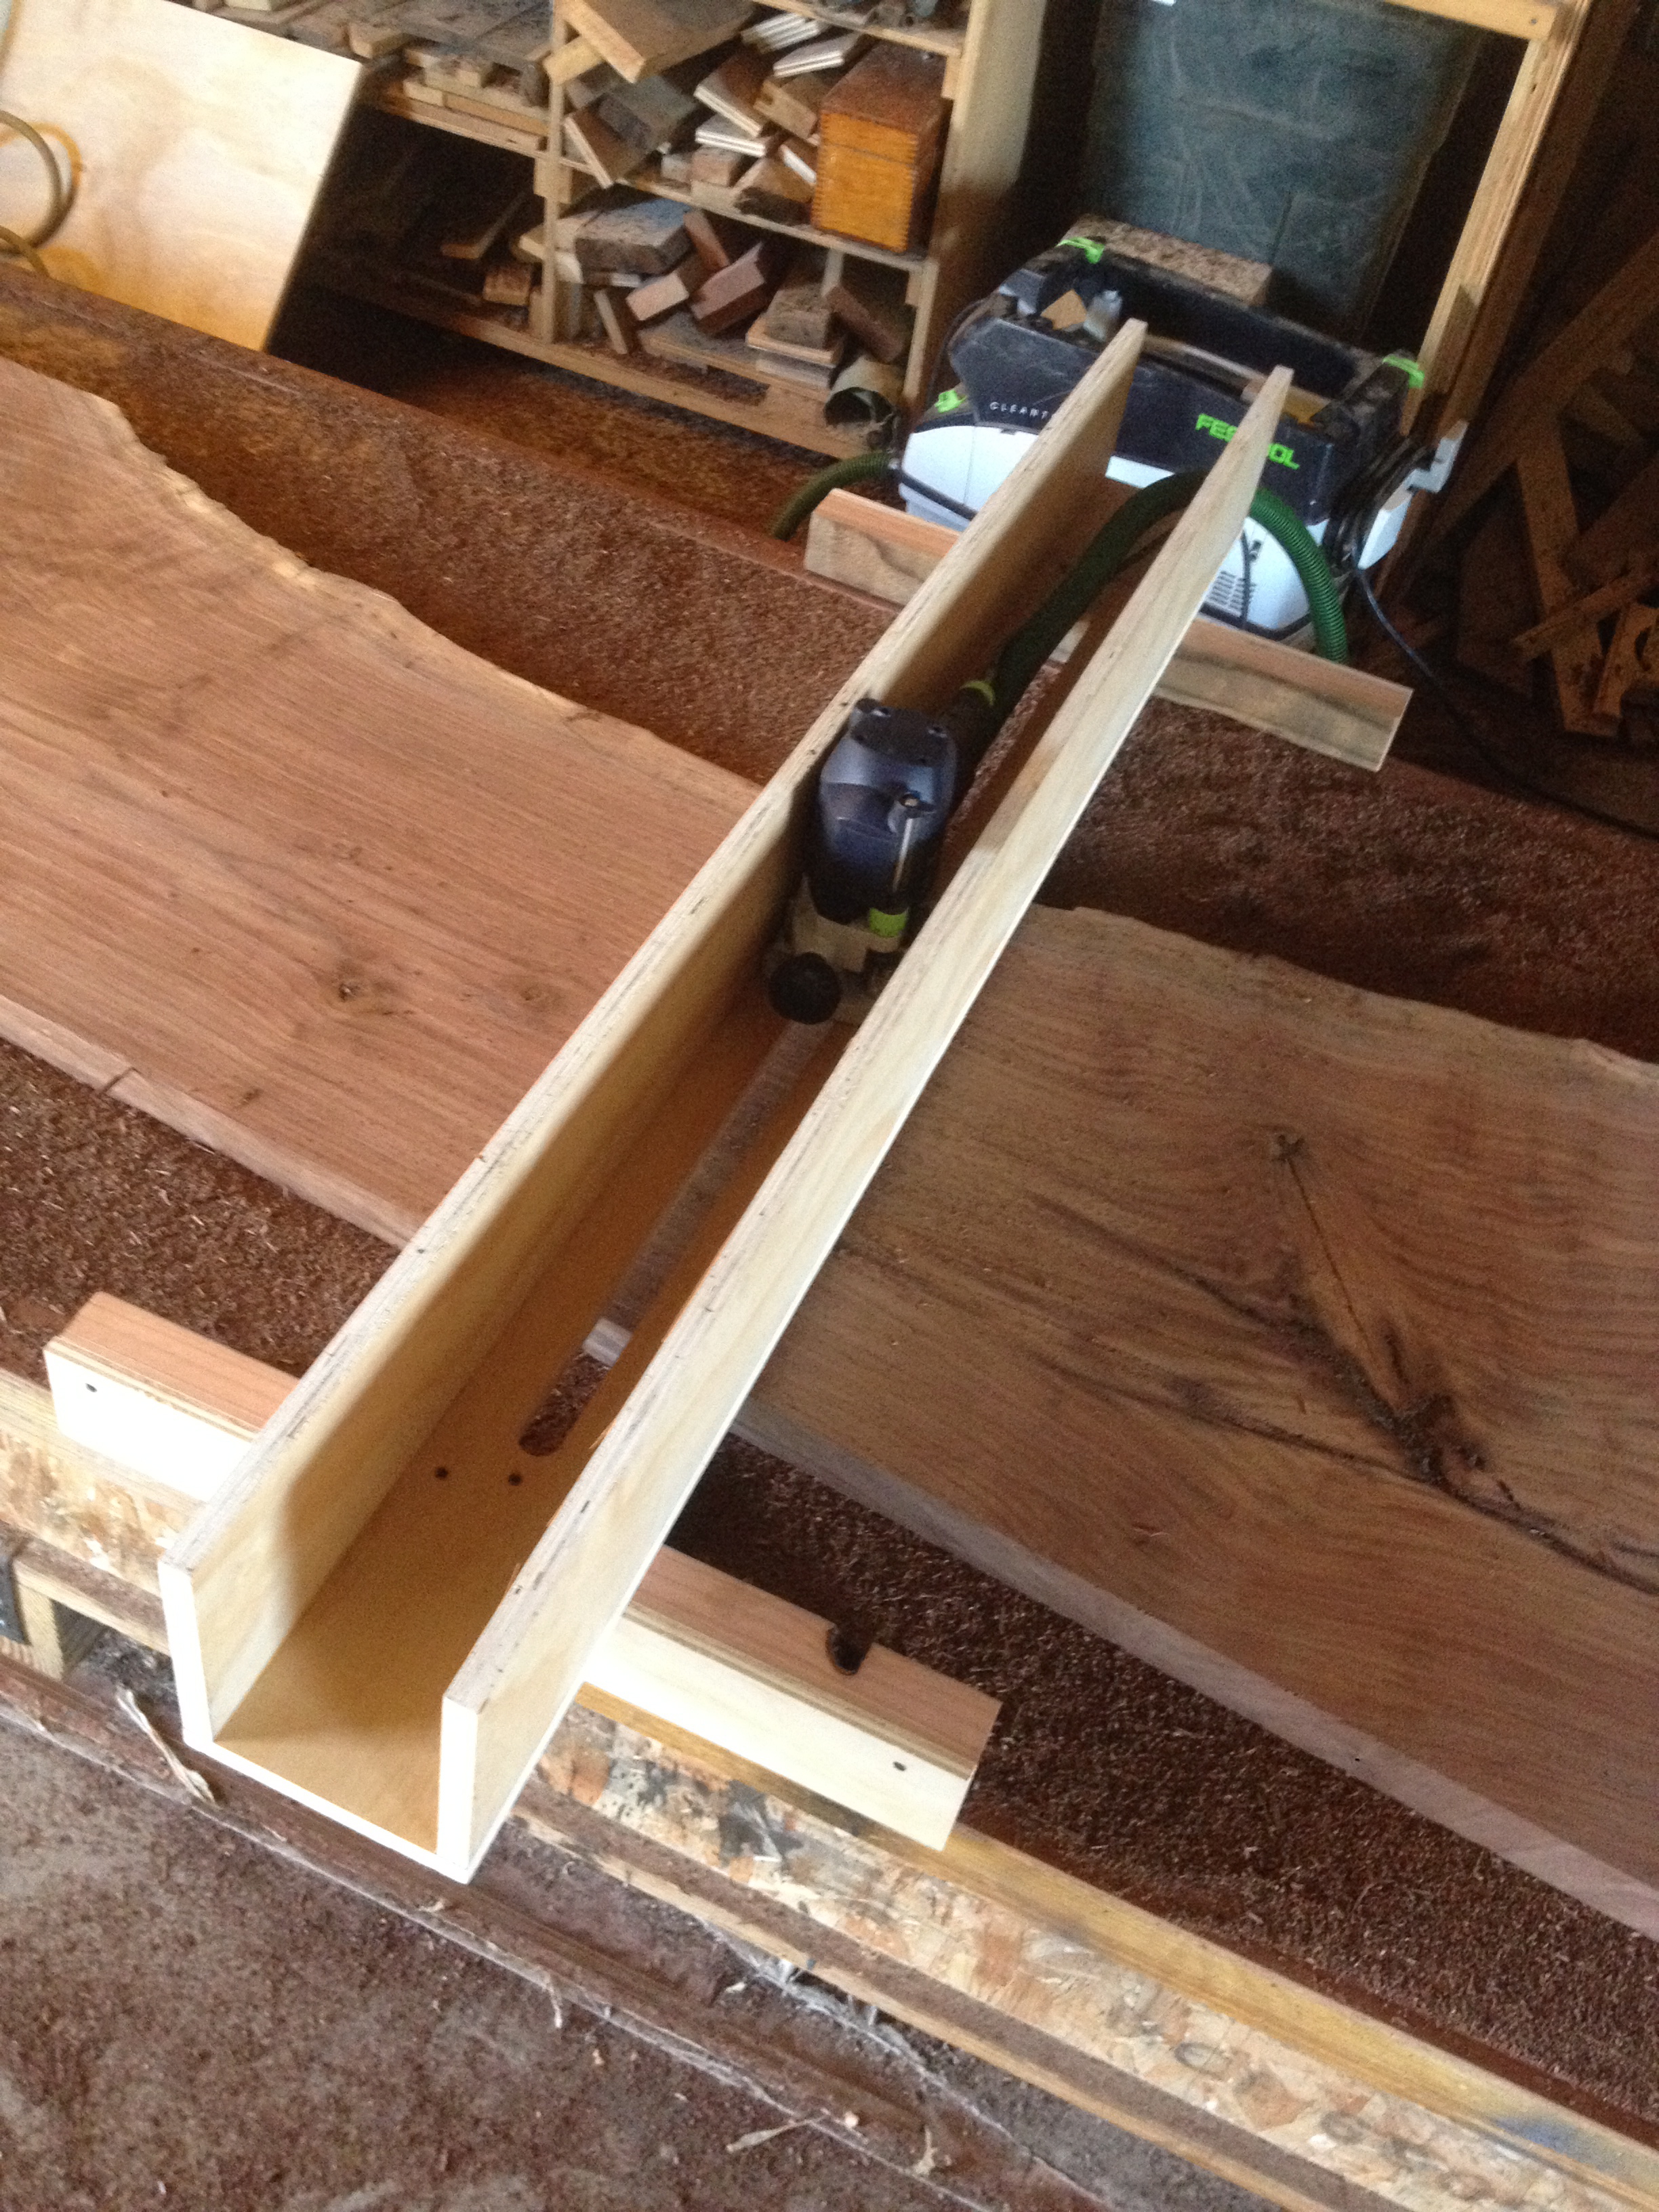
Next I used a router sled to flatten the slab. My homemade sled is basically a sliding carriage that fits over my work table. The router slides back and forth on the sled cutting down the high points. I set the router depth to cut about 1/8" off per pass and I continued making these 1/8" passes until the entire top of the slab was flat. Then I flipped the slab and flattened the other side.

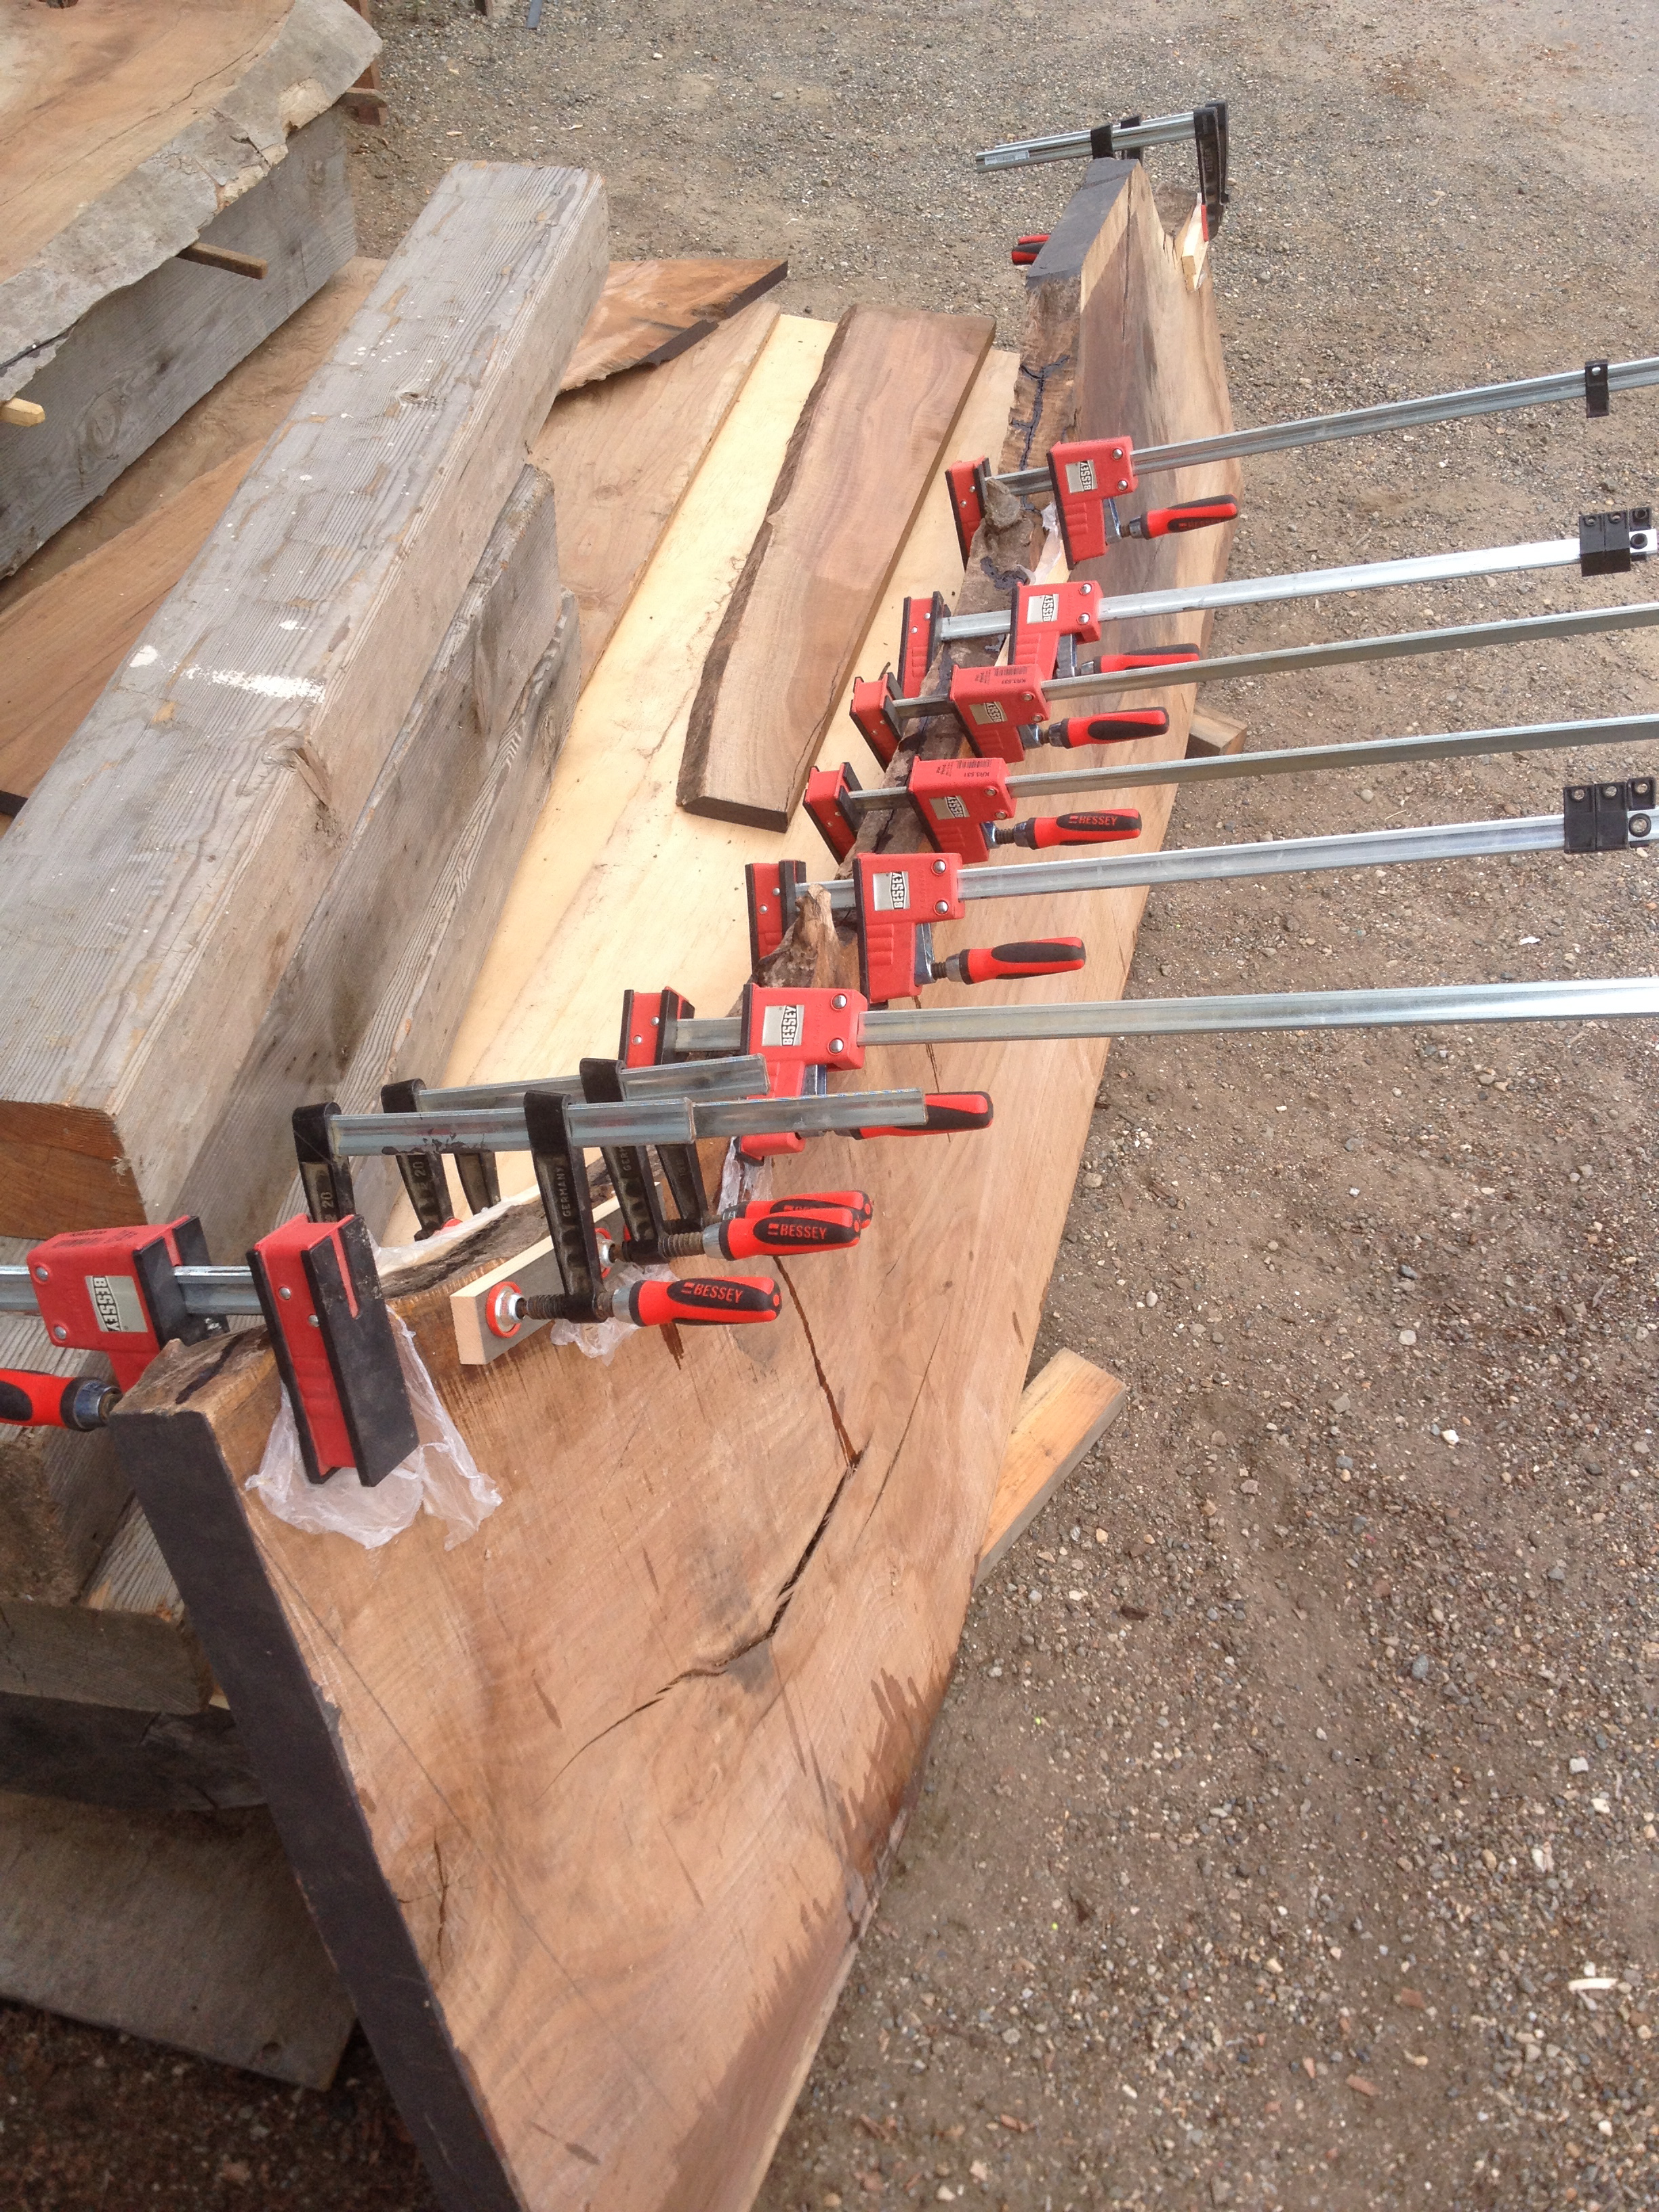
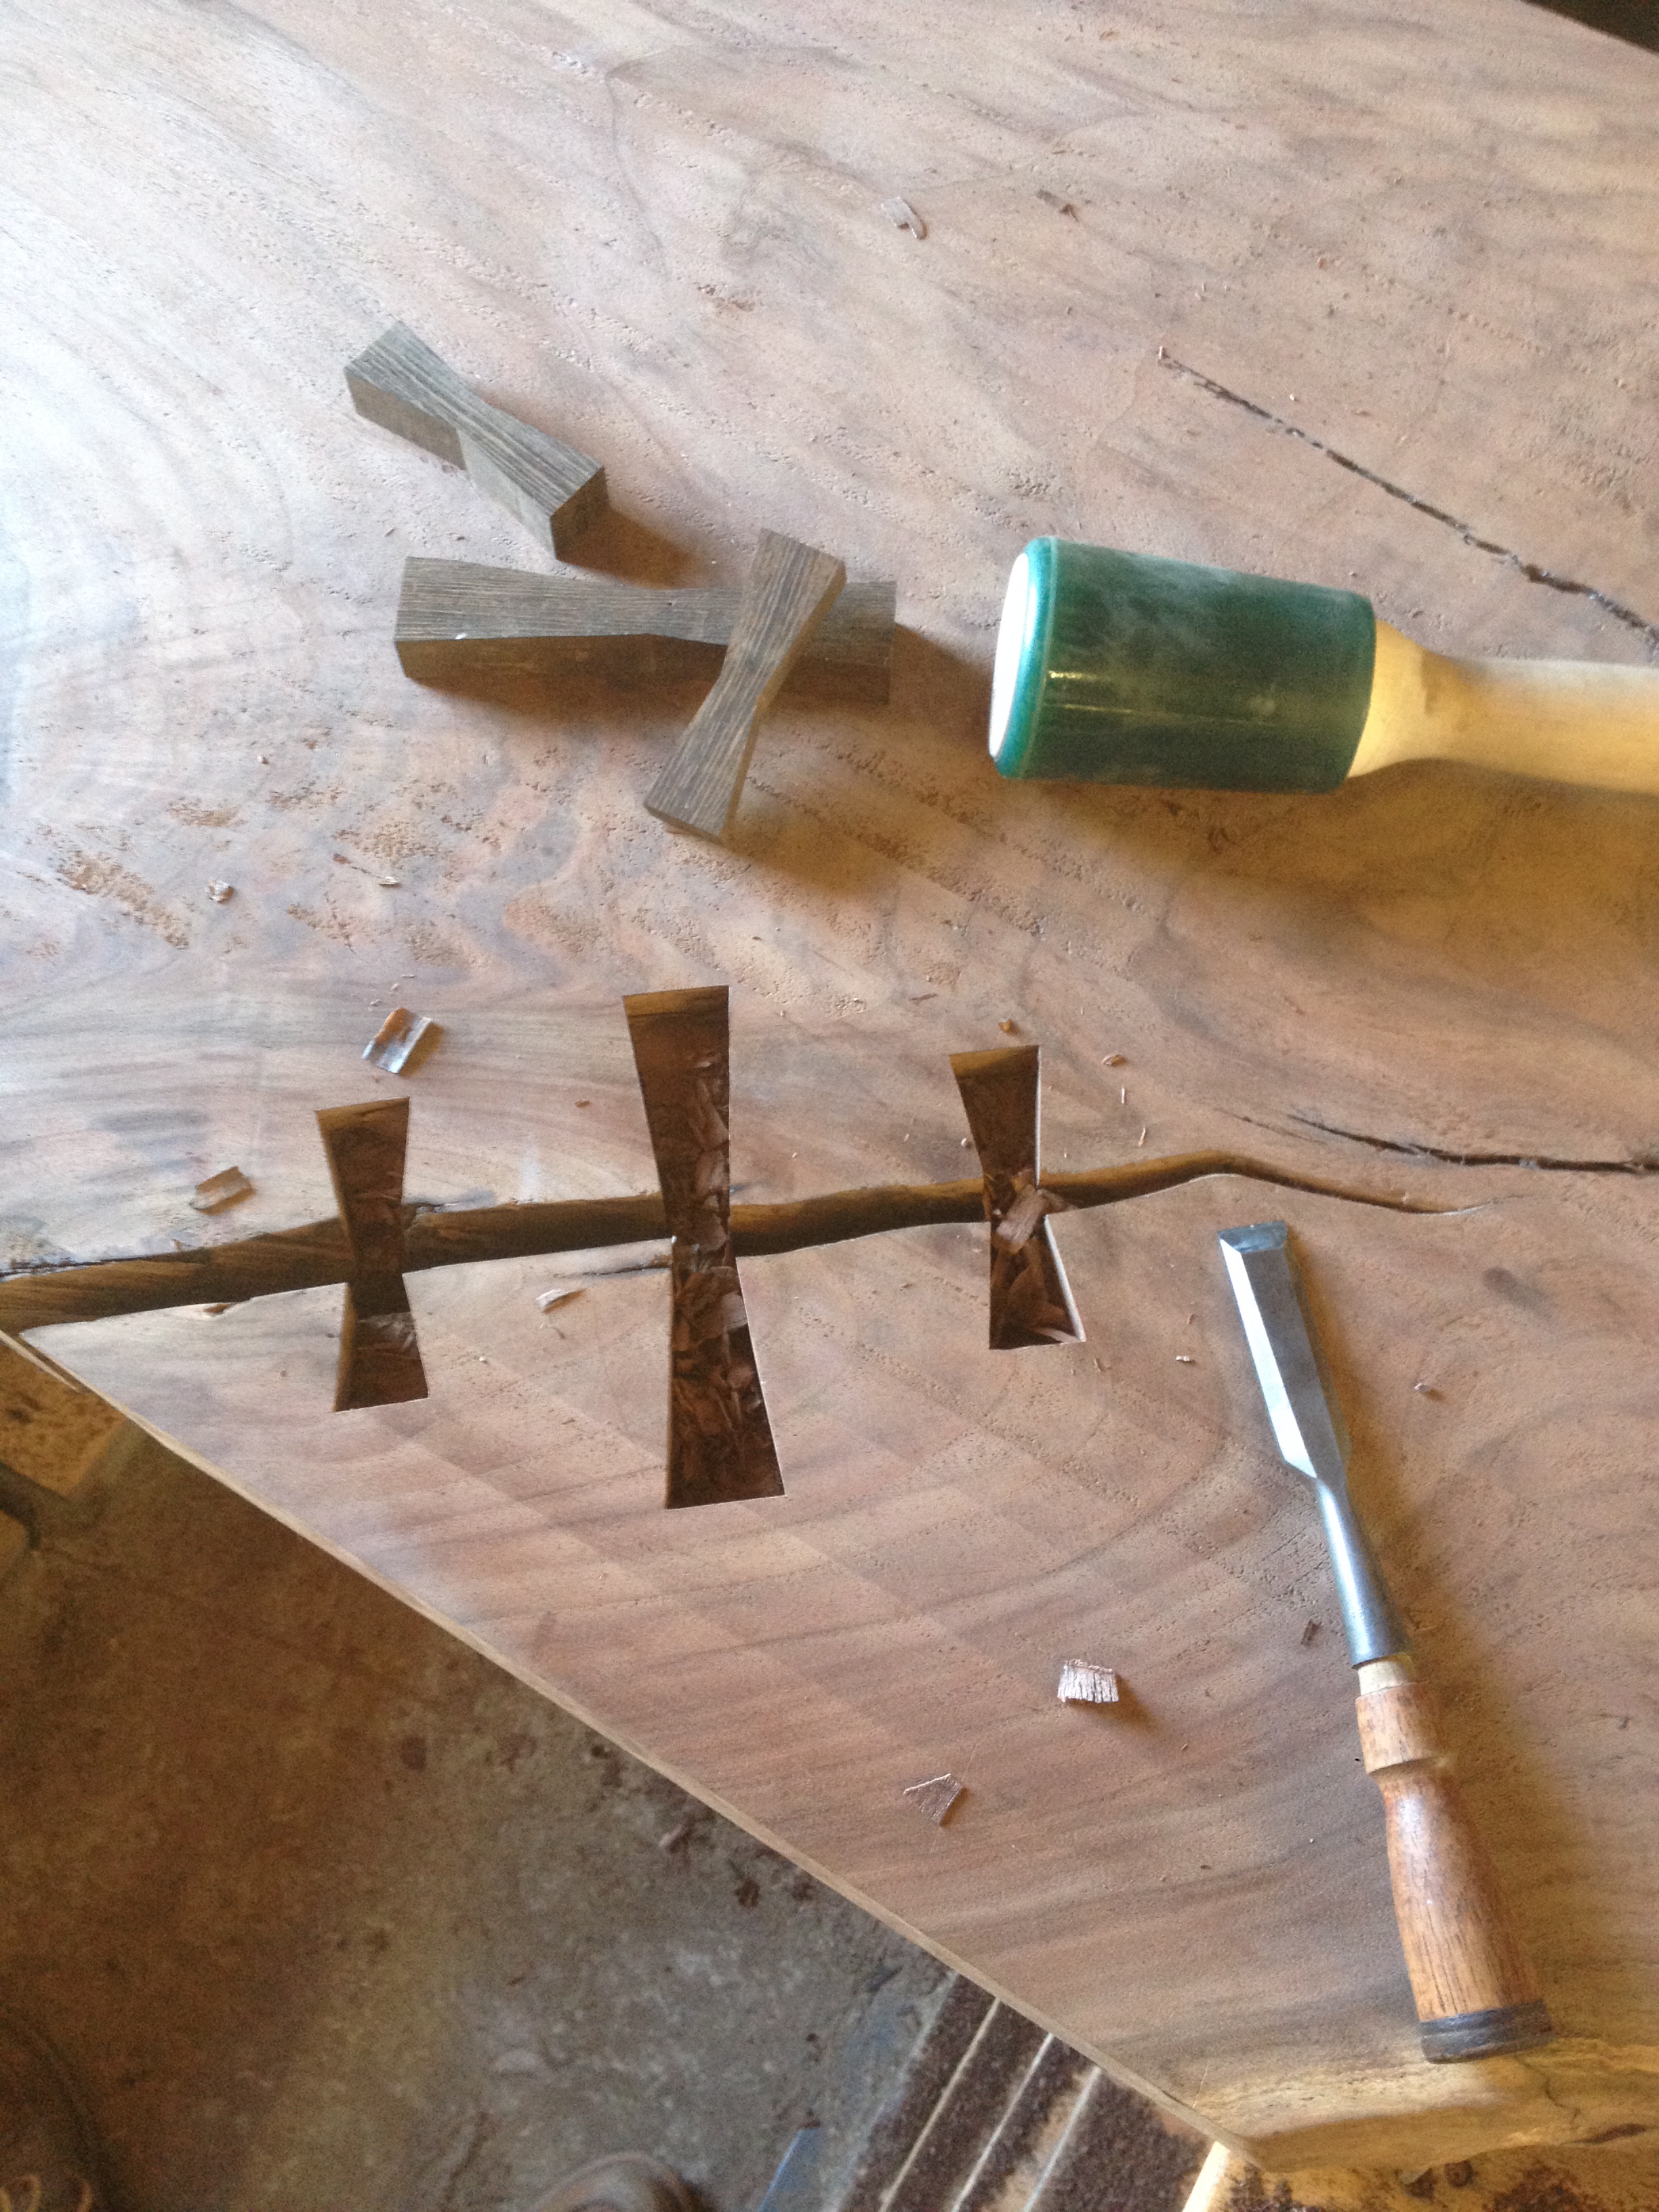
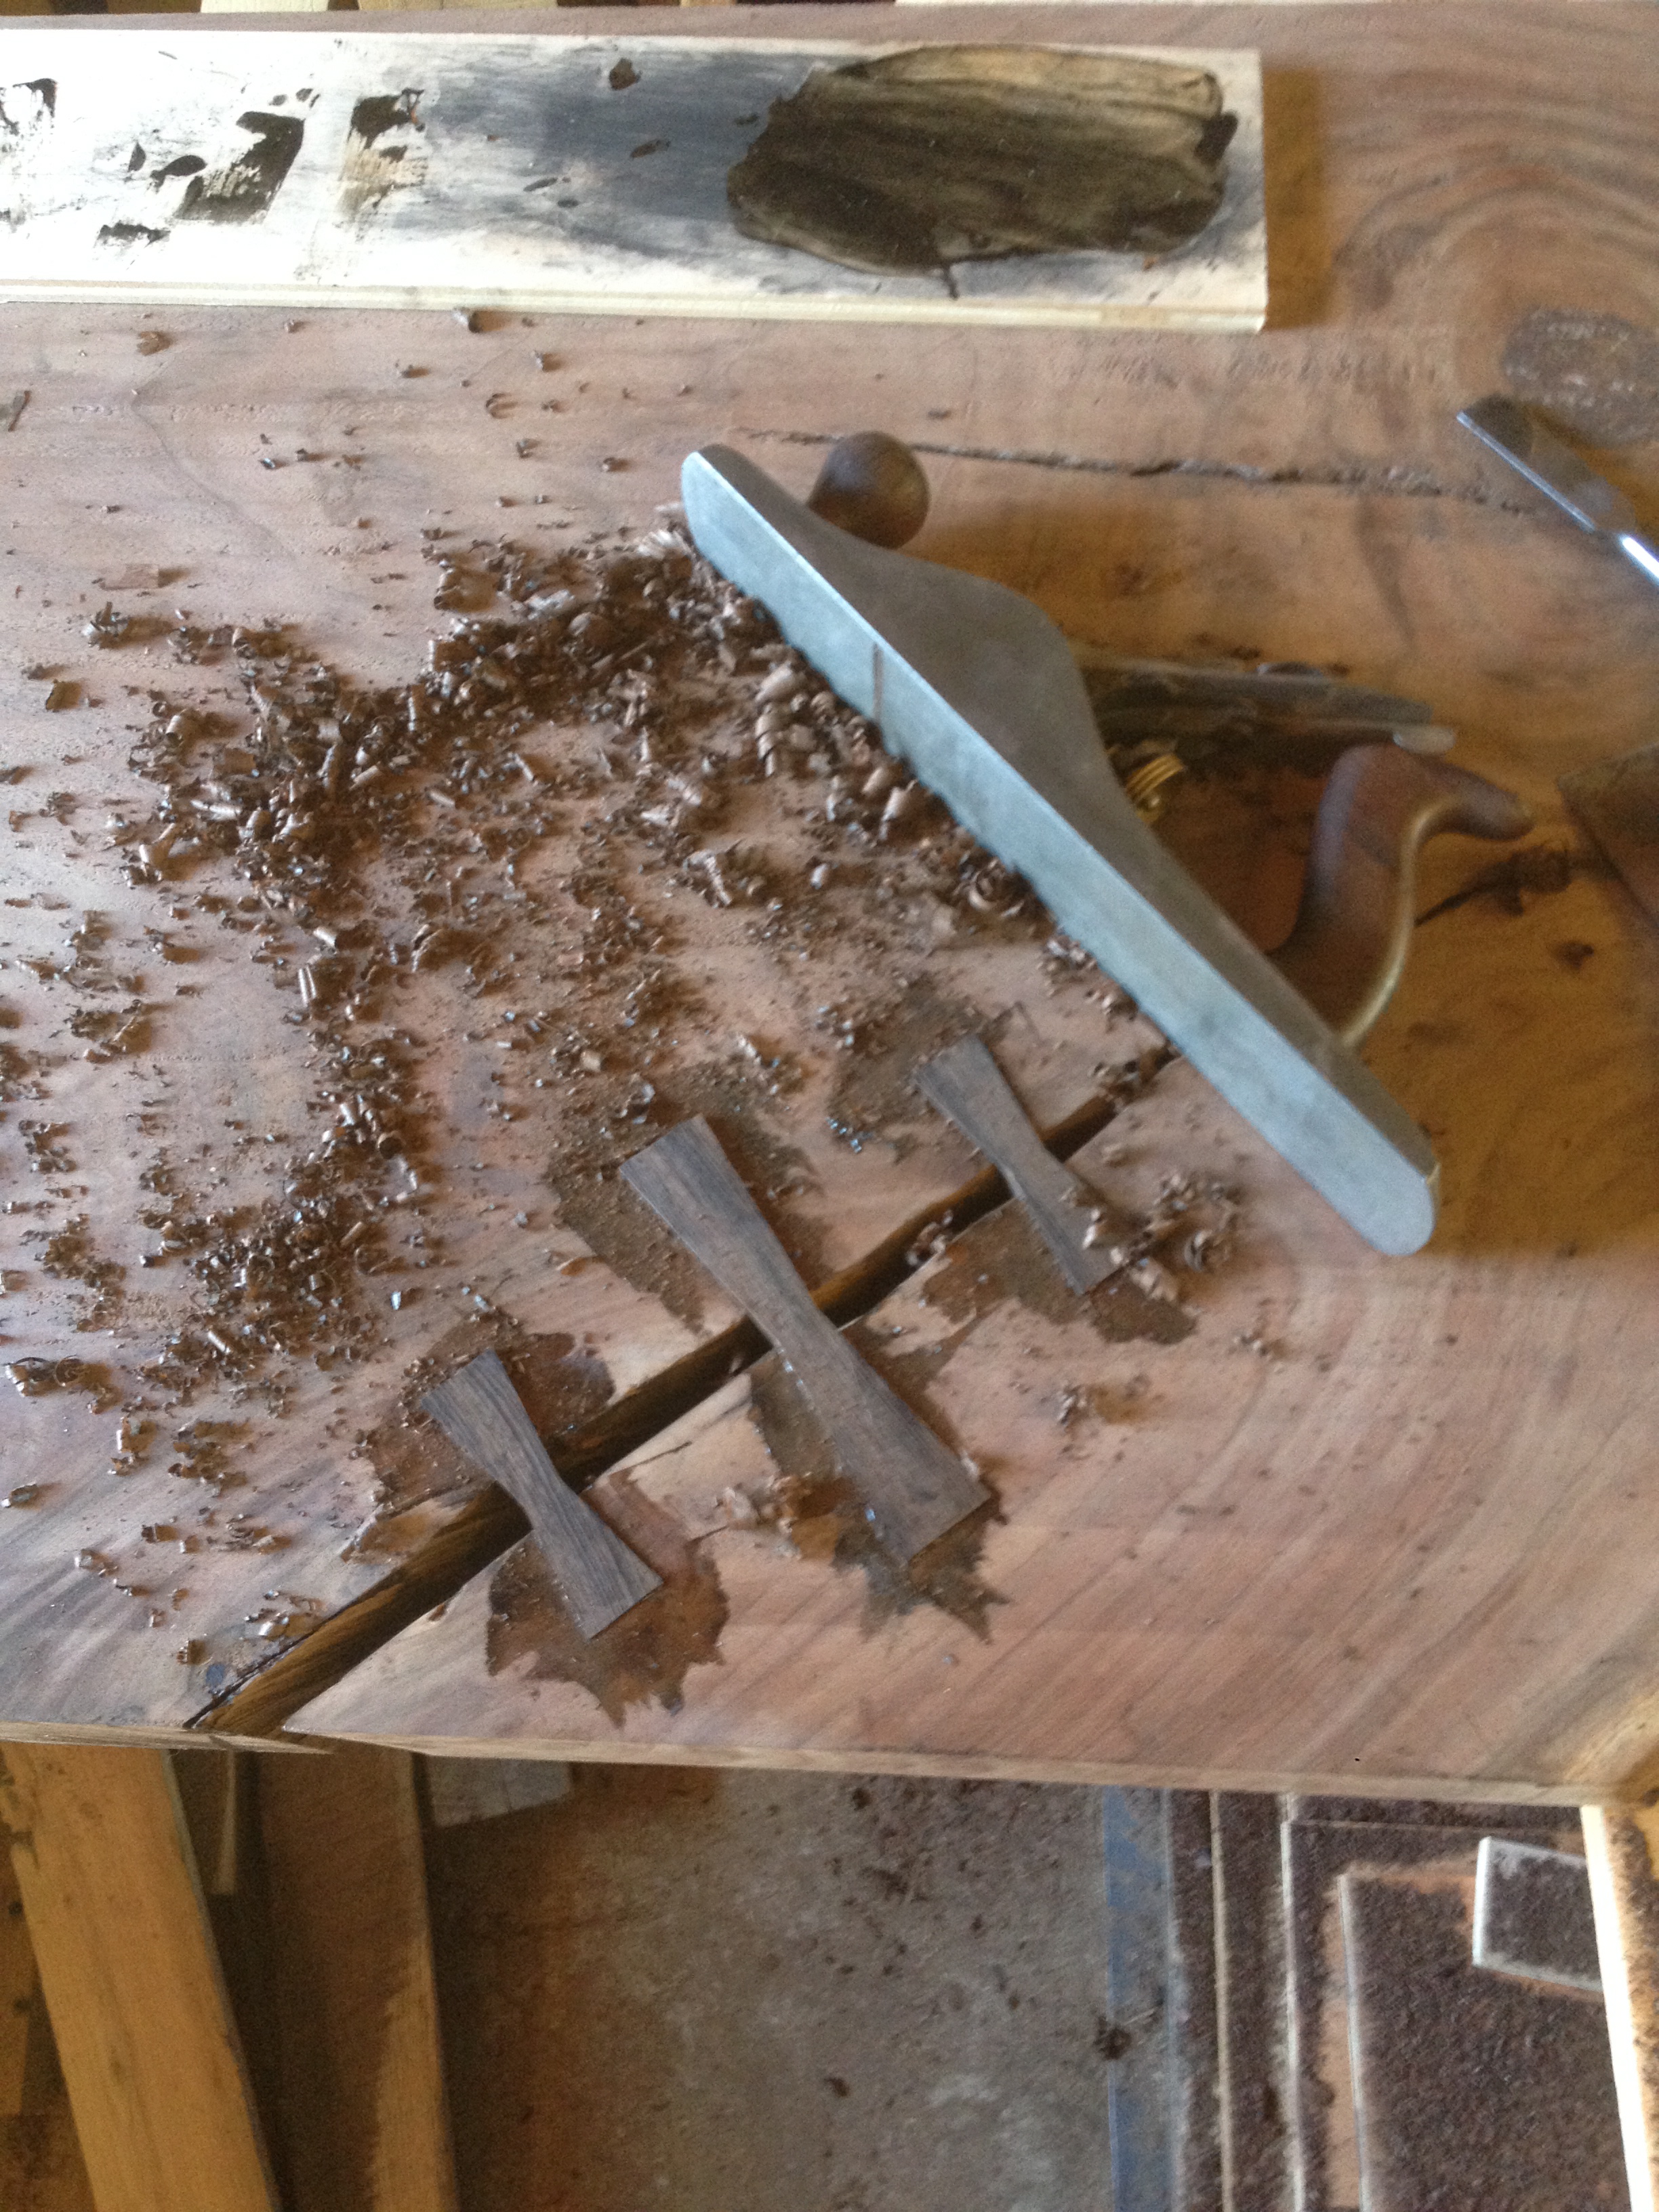
Once the slab was entirely flat, I spent some time inlaying "bow ties" to reinforce the cracked/weak areas. I made the bow ties from wenge which is nearly black (a nice color contrast to the walnut).

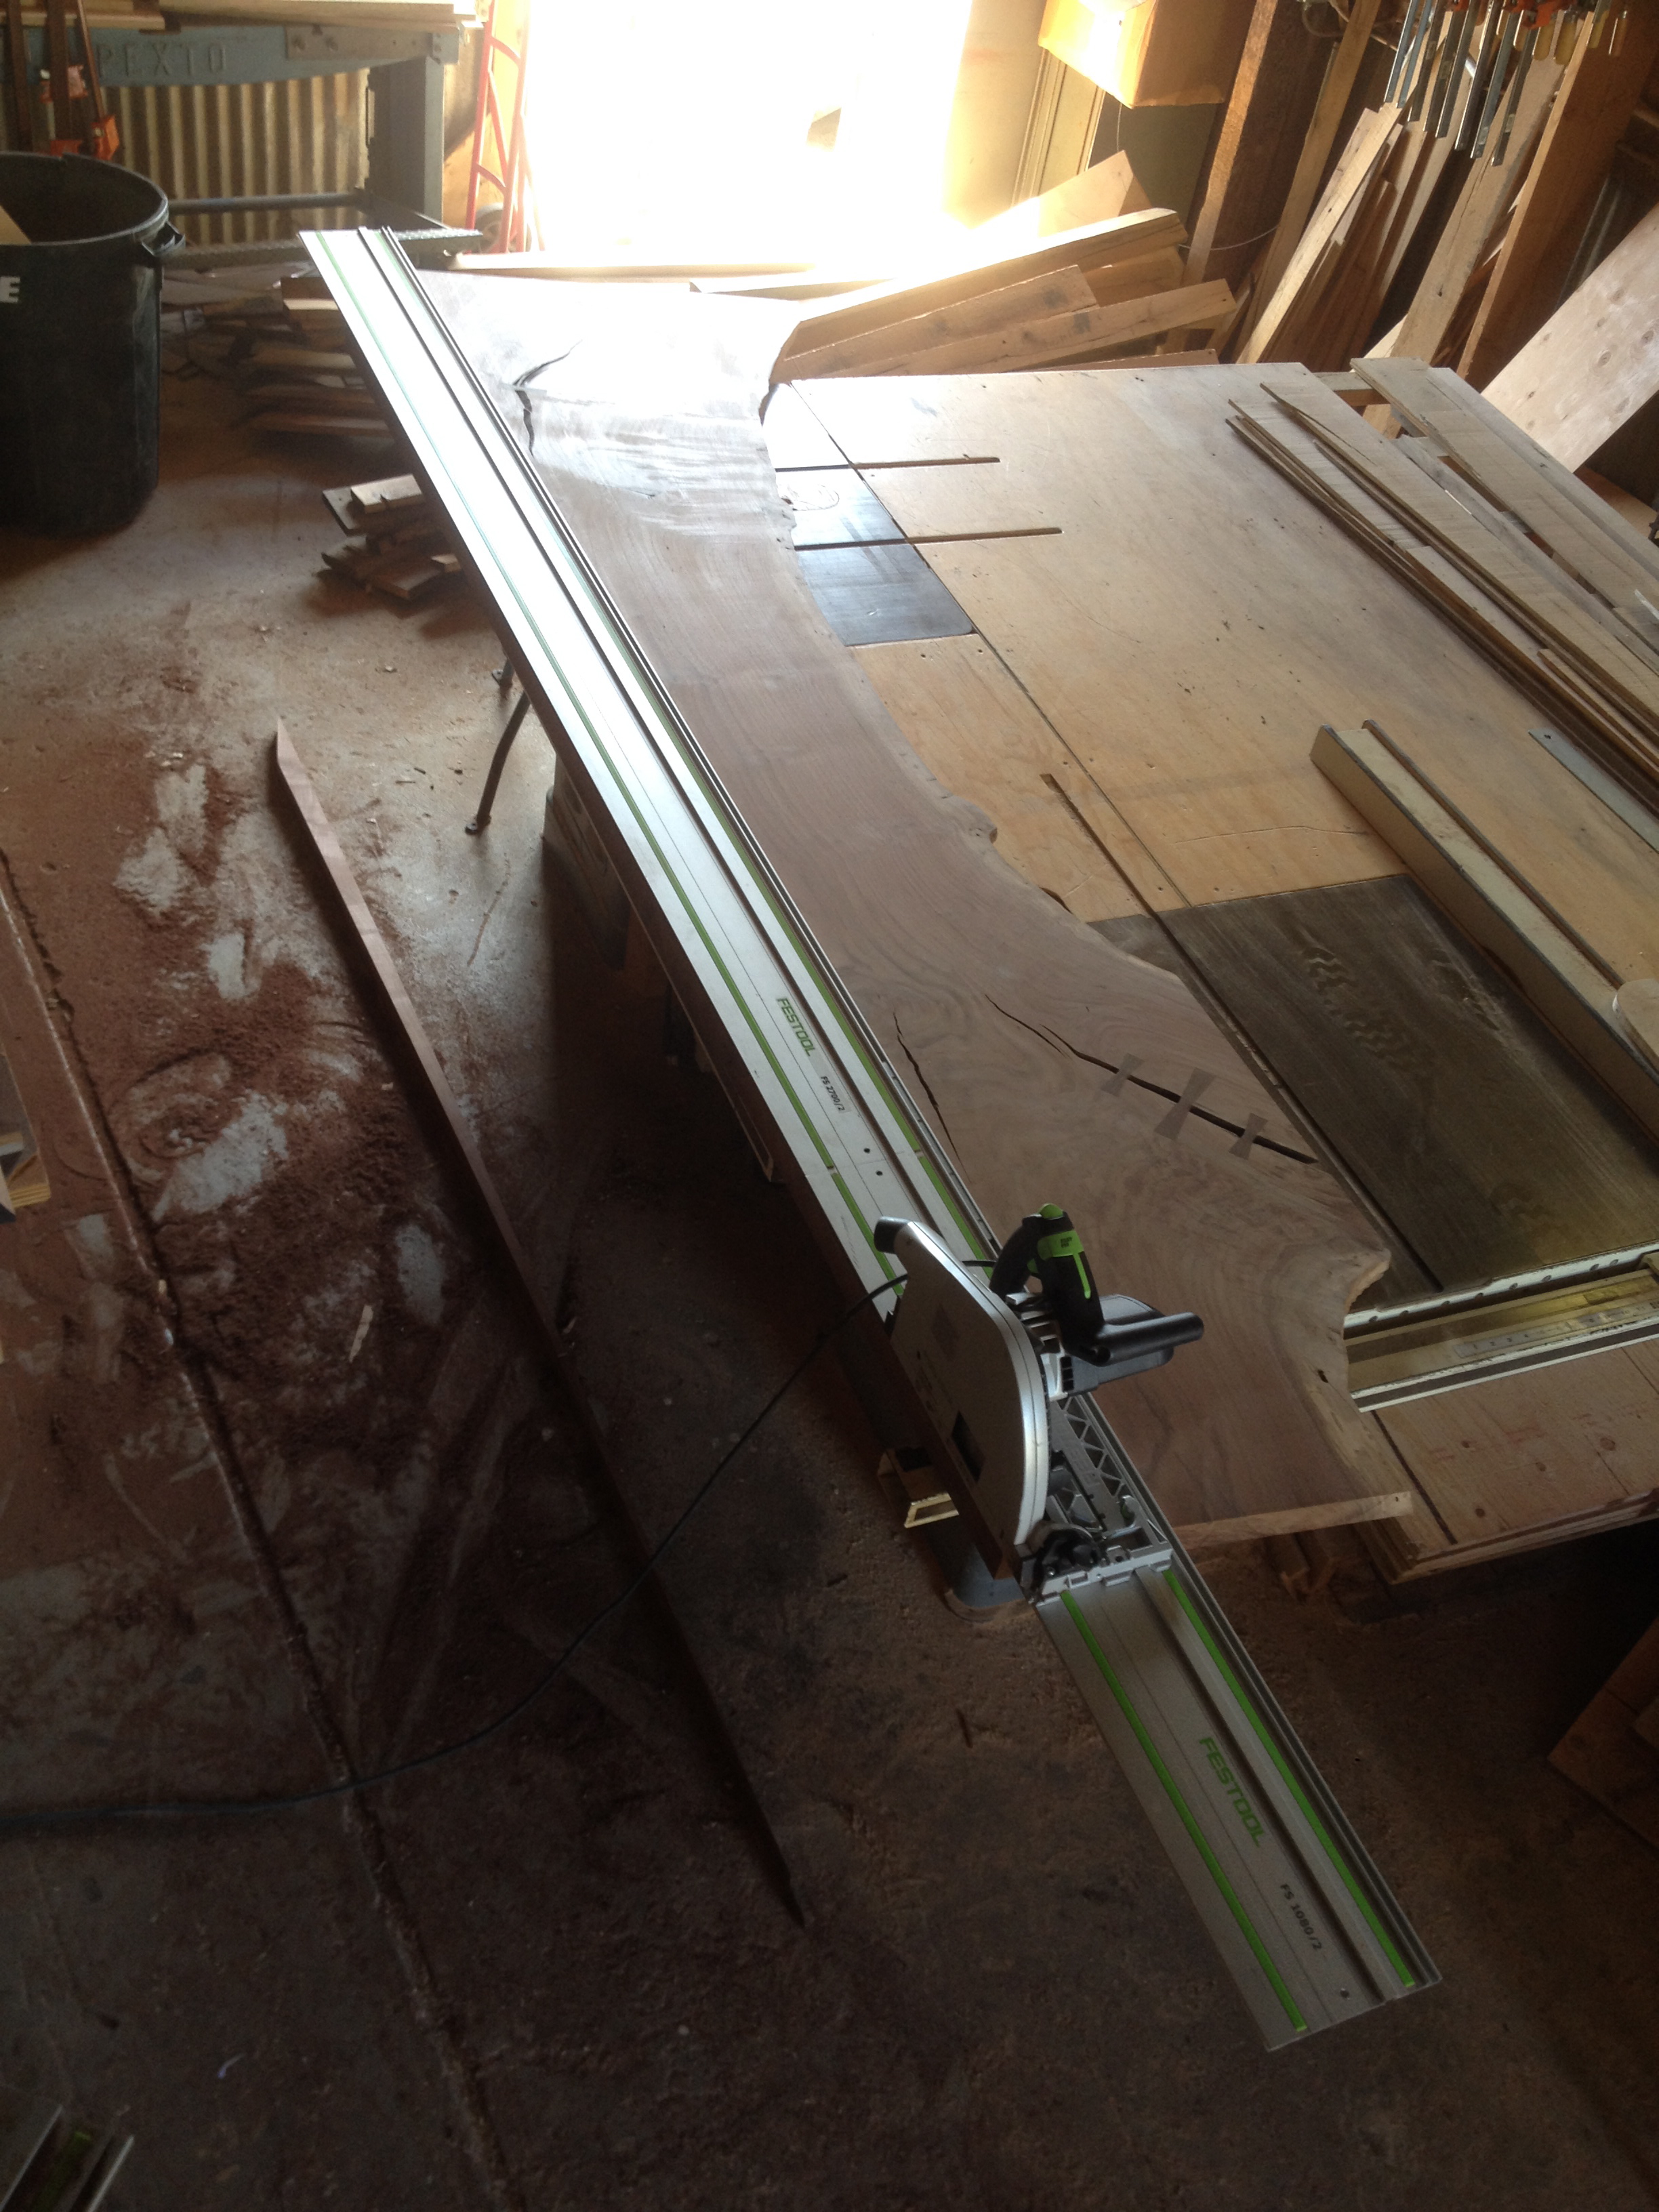
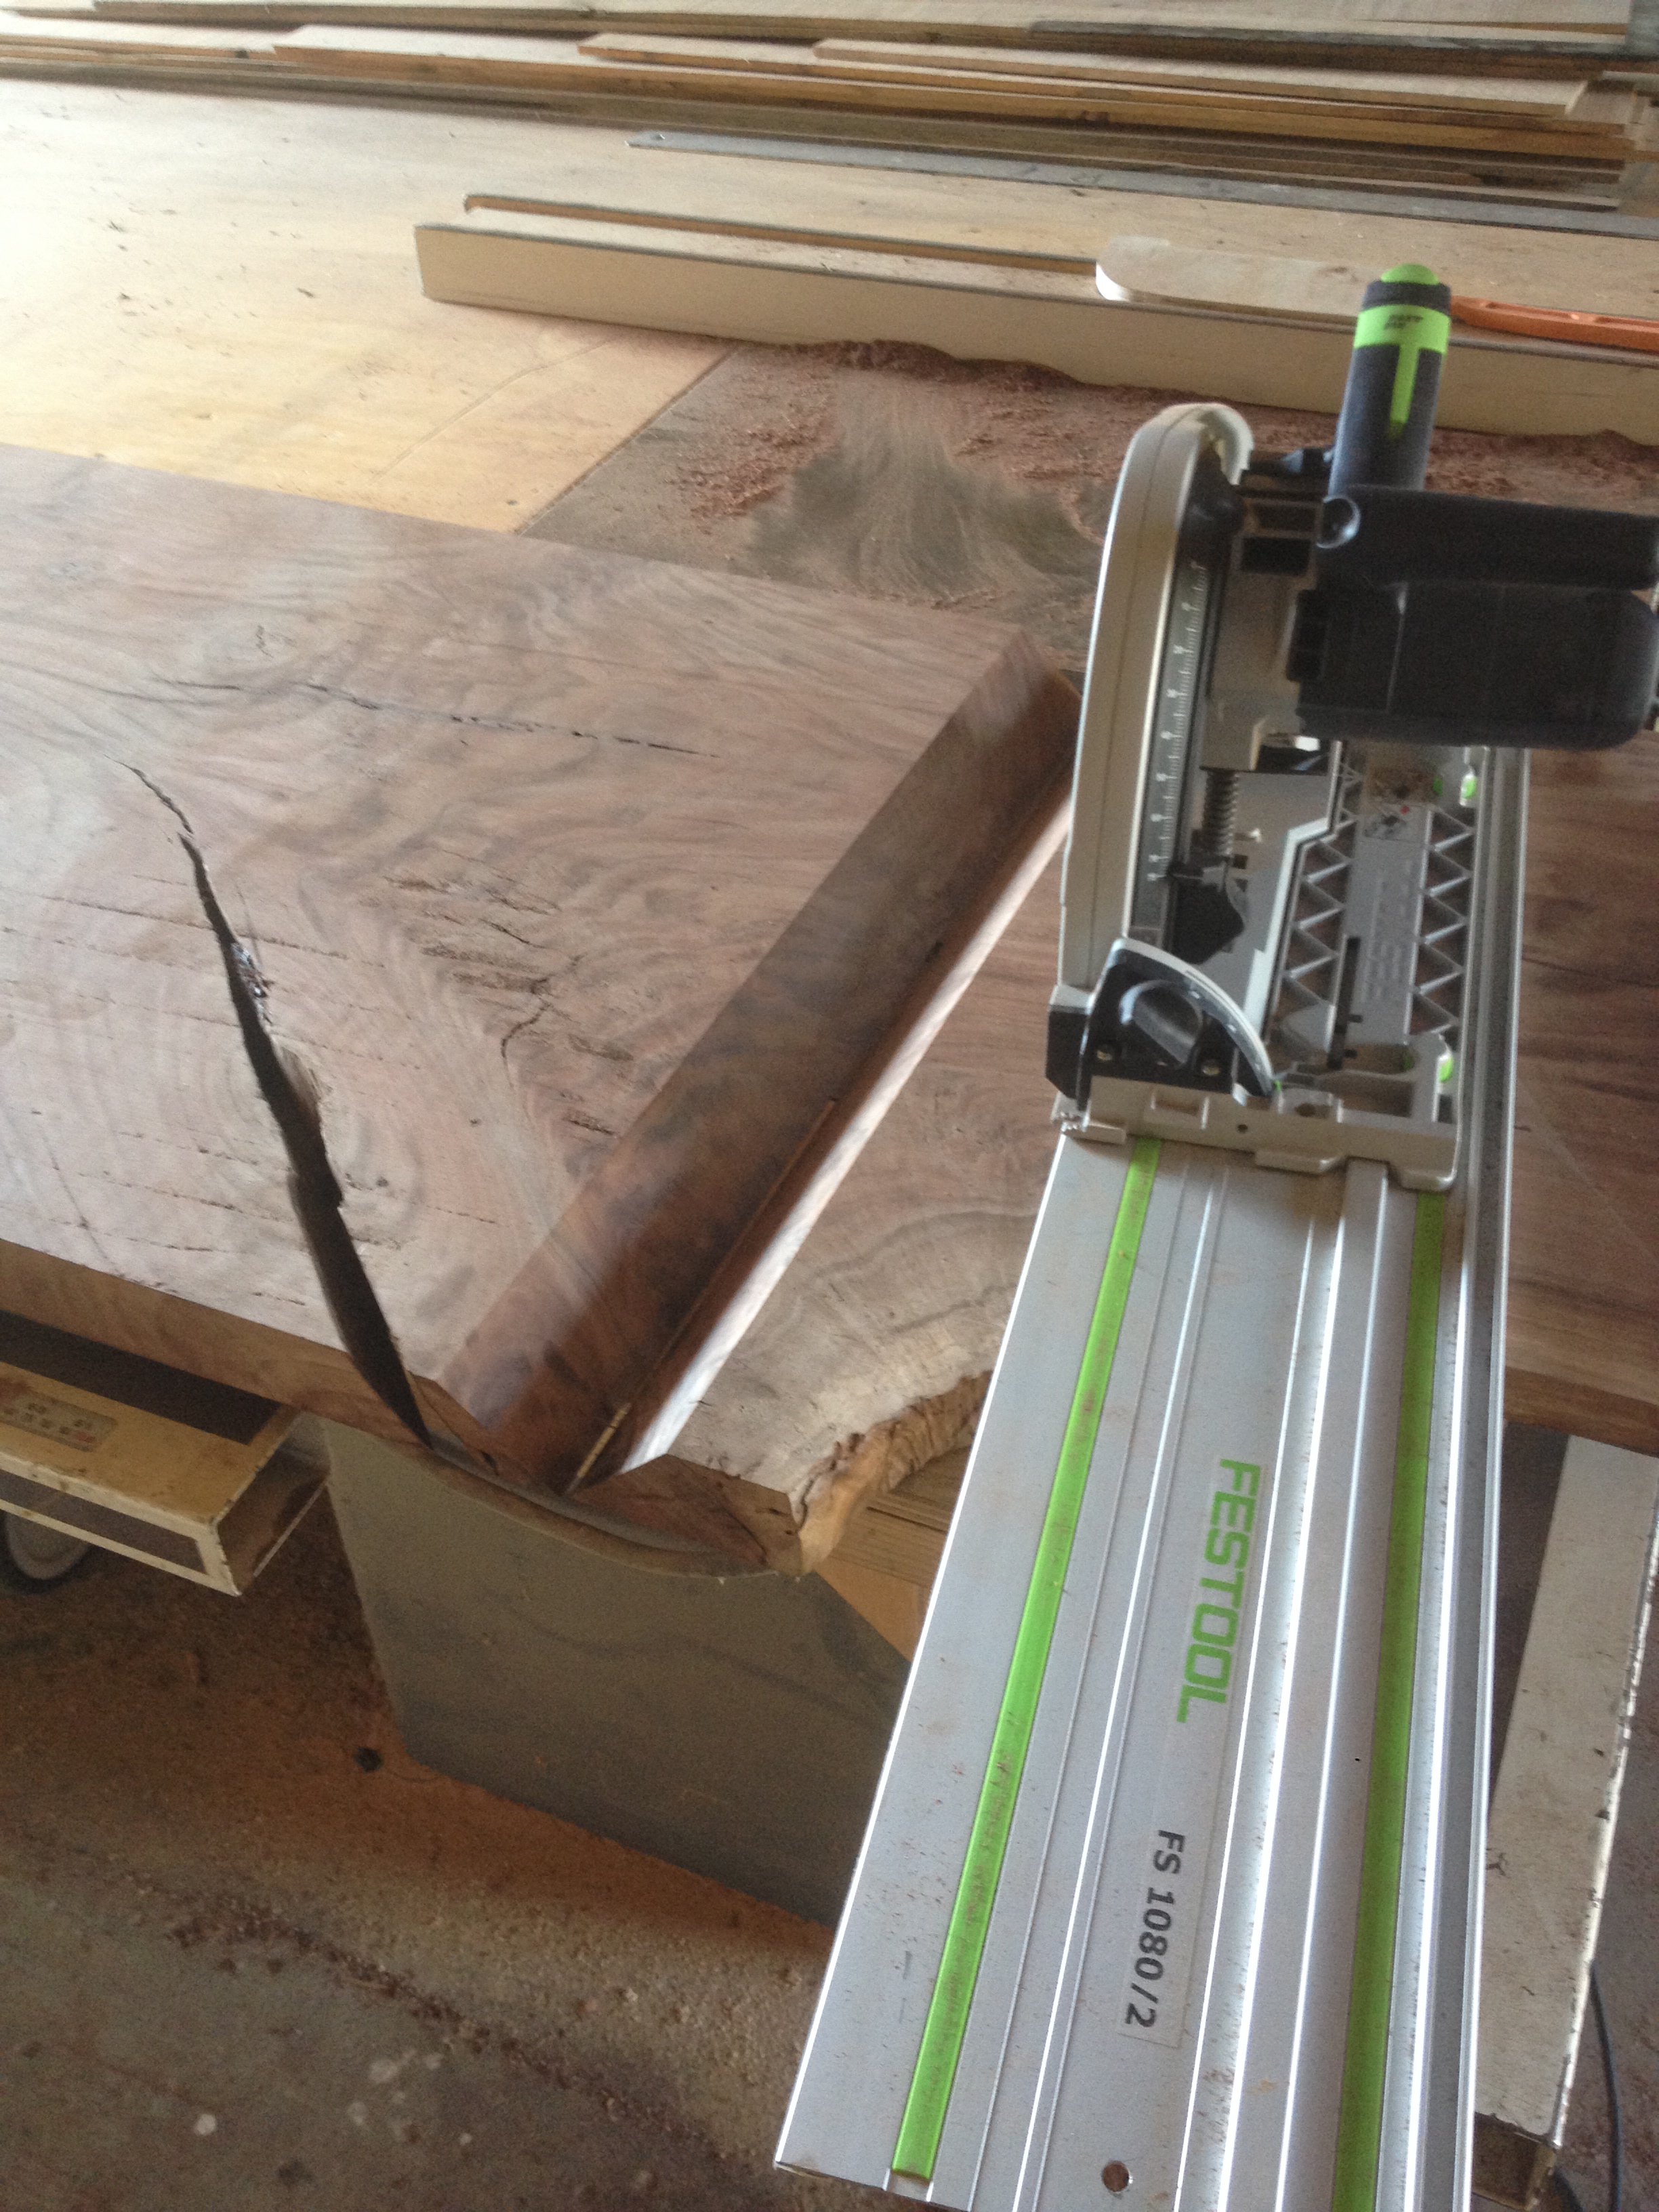
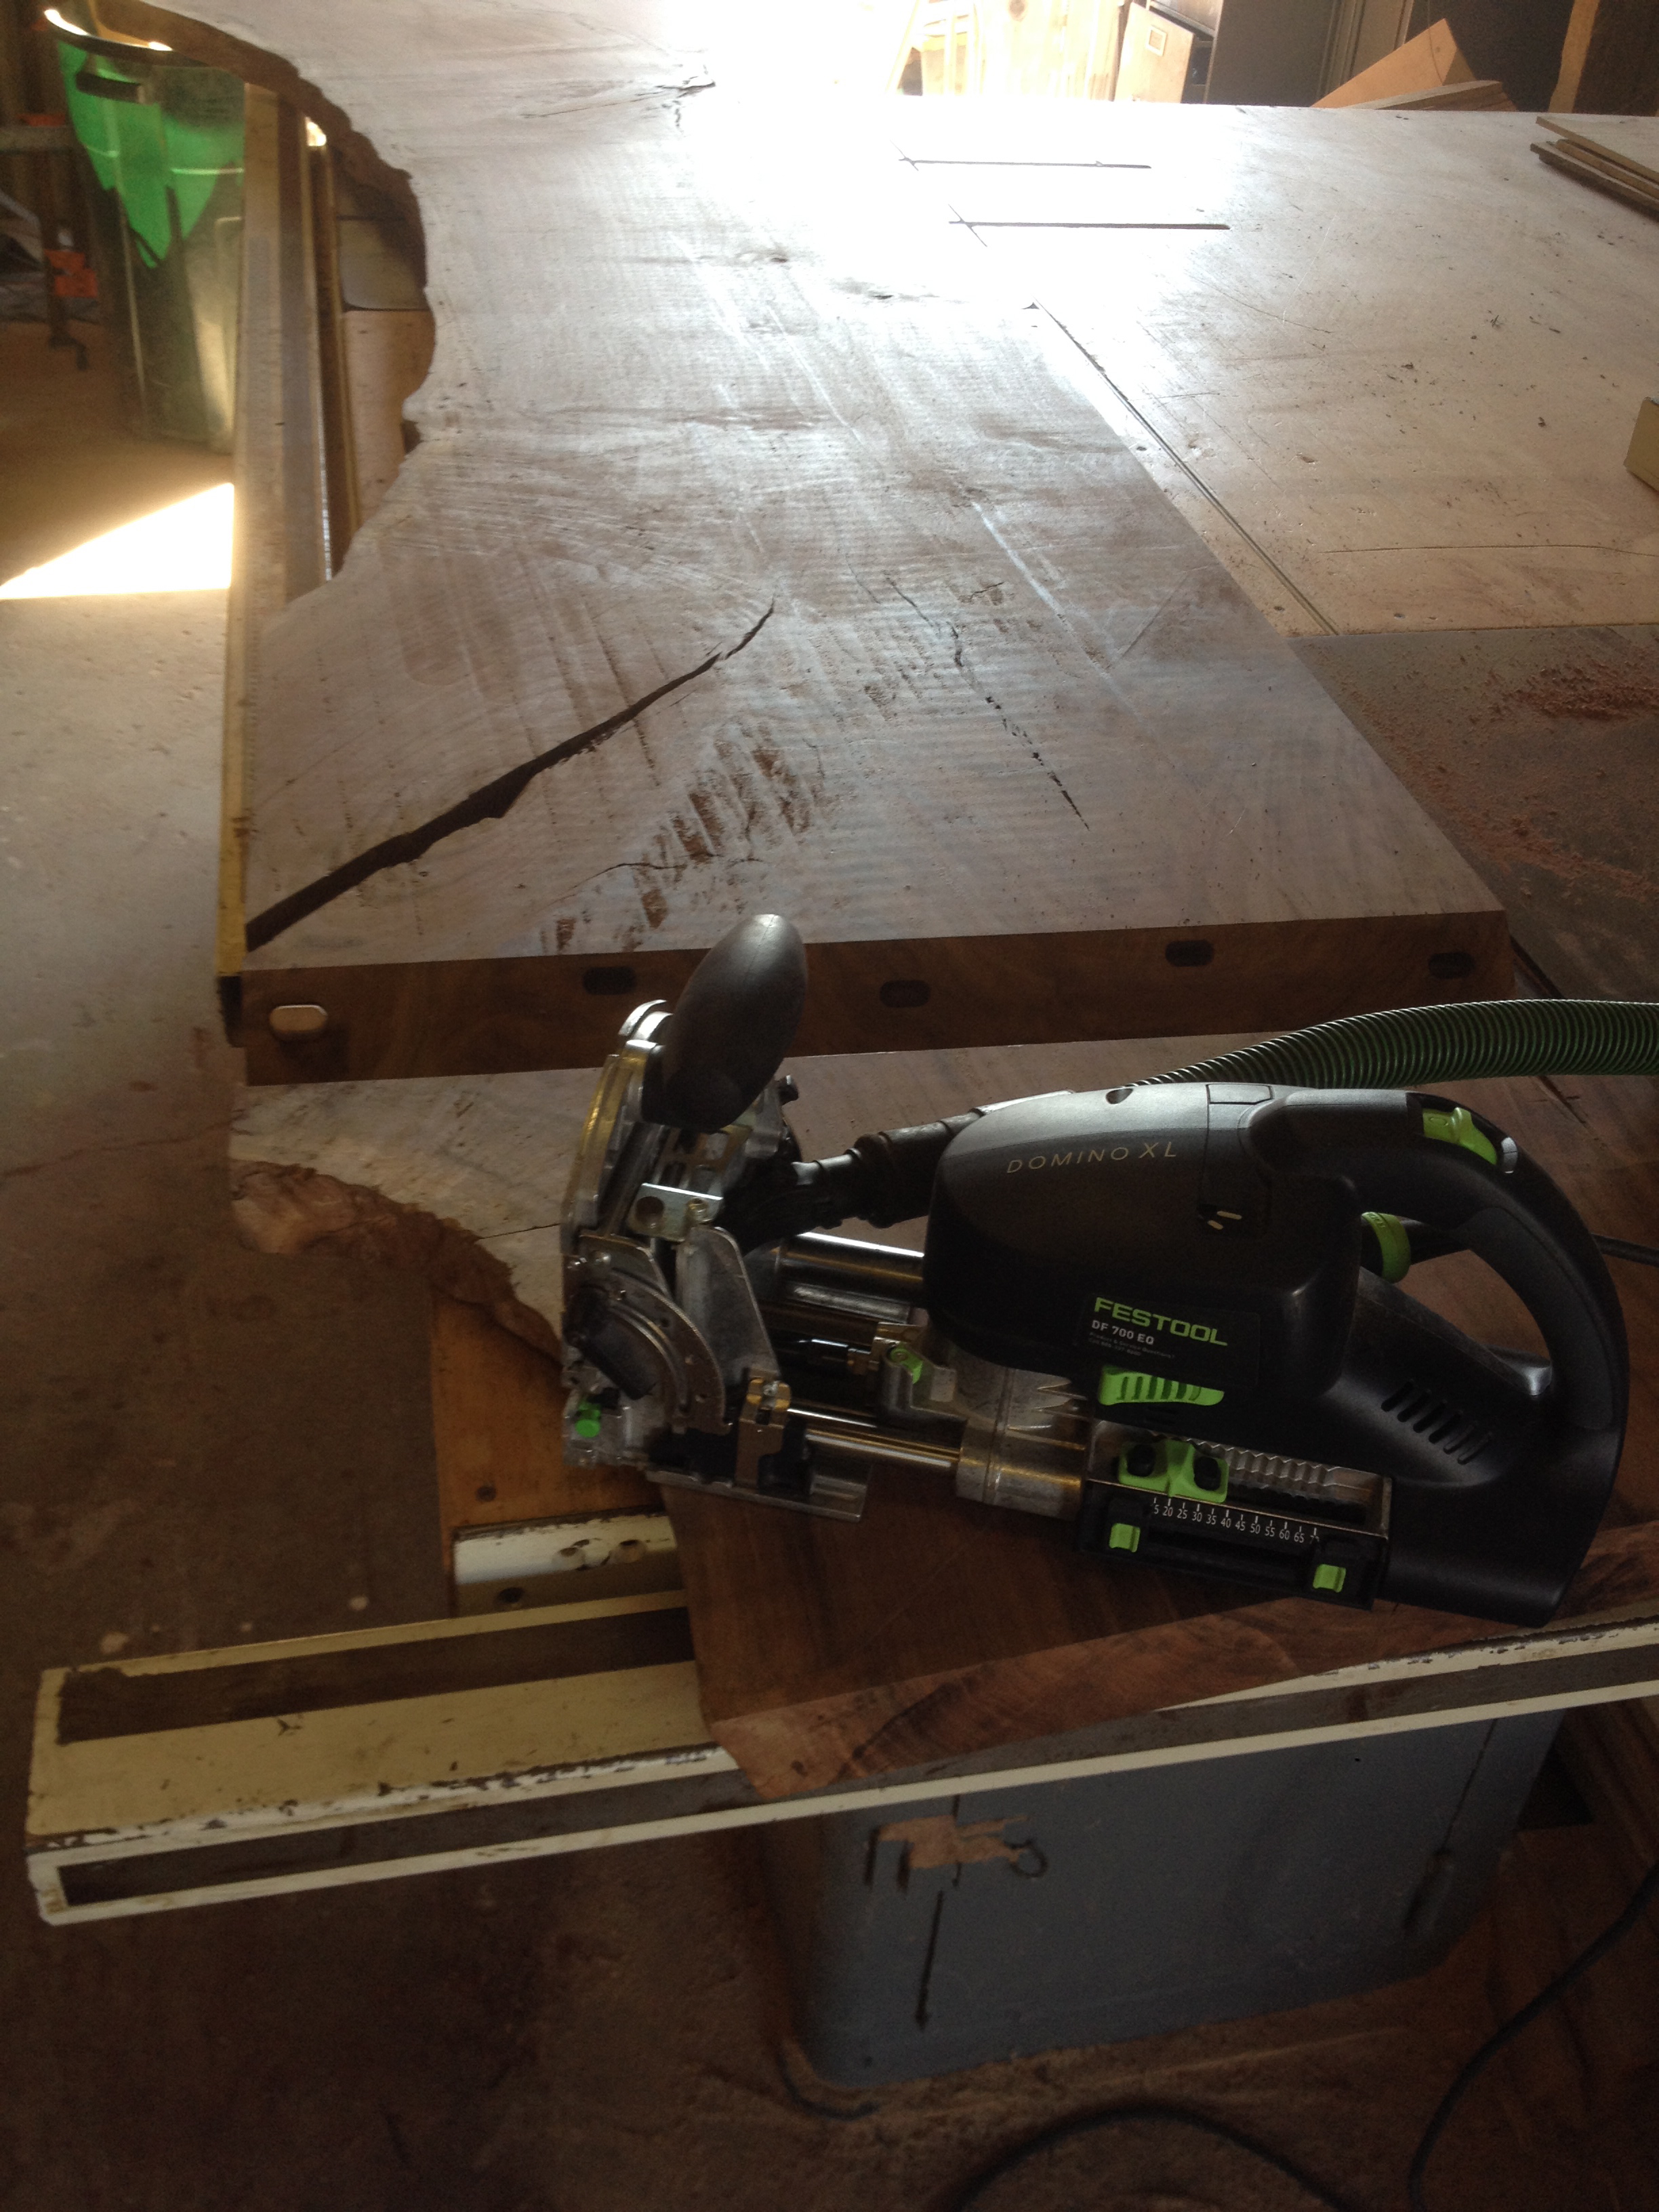
With the bow ties complete, I ran the slab through a wide belt sander both sides and then used a track saw to cut a straight edge for the back side of the counter top. For this particular project I wanted the slab to "waterfall" over one side of the kitchen island, so next I used my track saw to cut a long miter and then used the Festool Domino XL to cut floating tenon joinery for the miter (using14mm tenons).

Then I finish sanded with a 6" random orbital sander to 220g, and then hand sanded with 320g. Finally, I sealed it with 3 coats of Festool Surfix HD (using the Festool abrasive pads between coats).
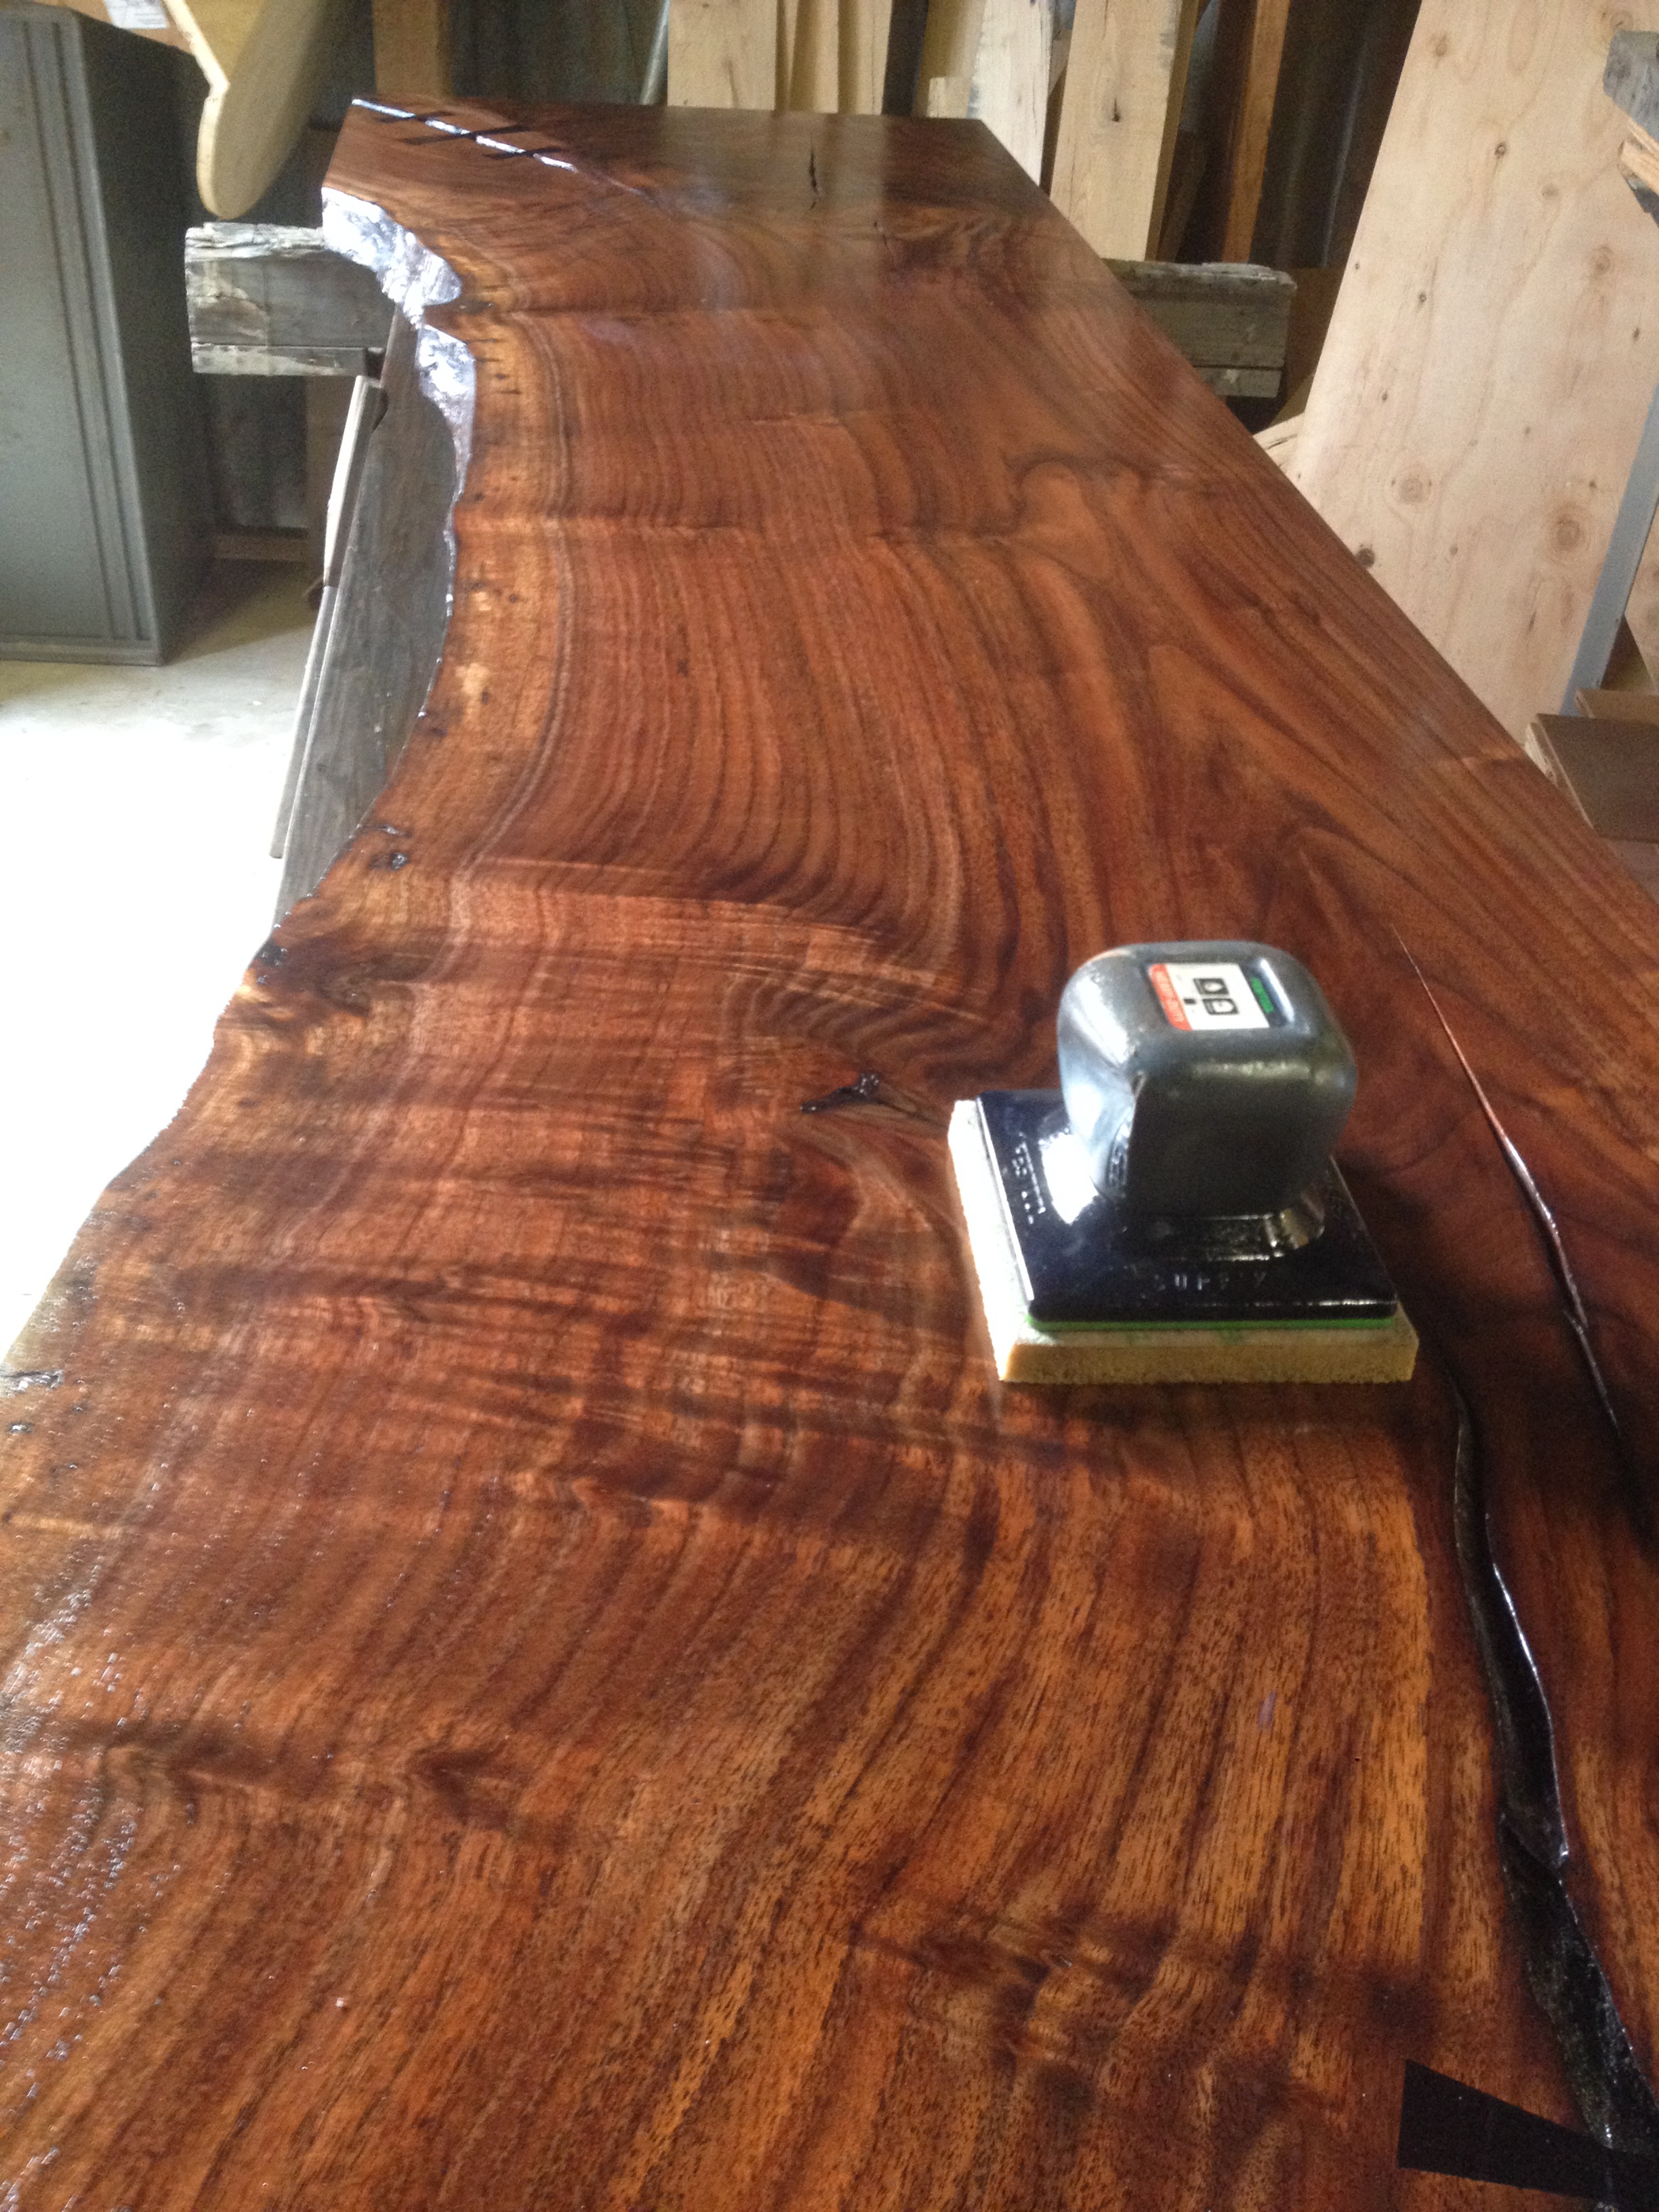
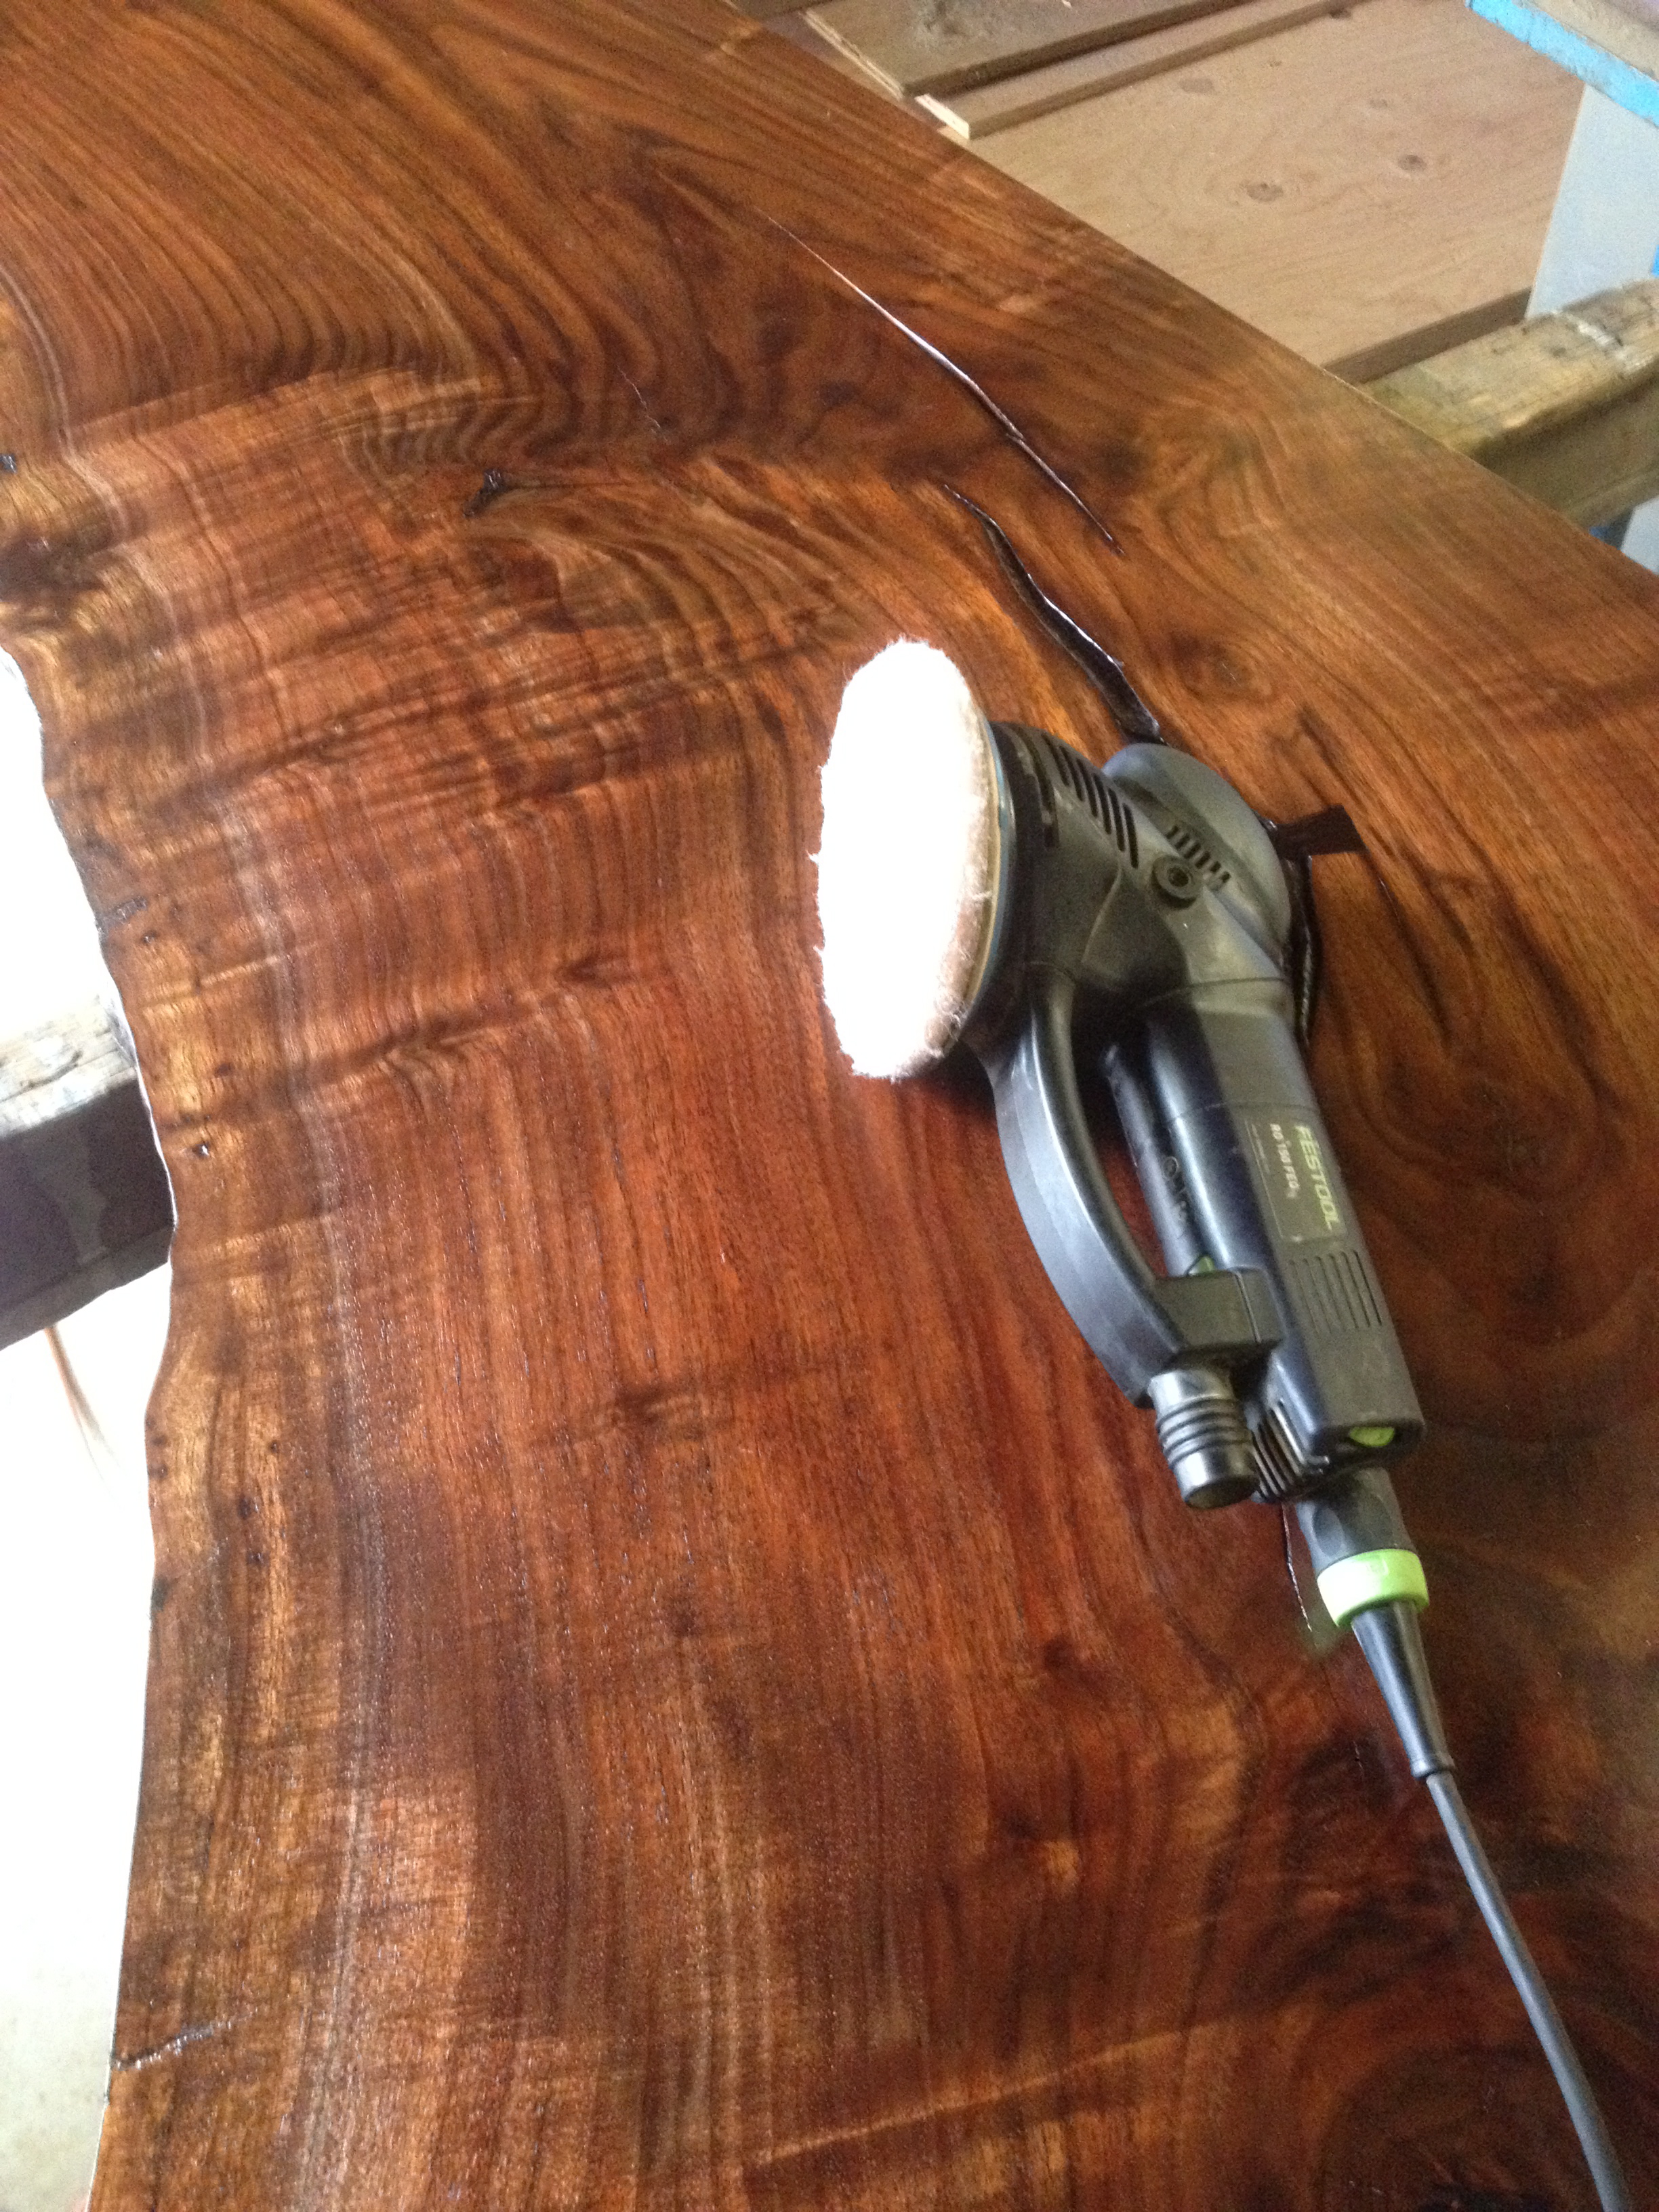
This particular client wanted more of a sheen to the finish so I added 5 coats of hand rubbed Urethane over the Surfix (I used General Arm-R-Seal and sanded with 400g and/or 0000 steel wool between coats).
Finally it was installation day! It's important to remember that the larger and thicker the piece of wood, the more it will move around with the changing seasons. So when I install a table top (or in this case an island counter) I use slotted holes and then attach with a screw and washer. These slots allow the wood top to move (grow and shrink) with the seasons. The Festool Domino XL with an 8mm bit works great for making these slotted holes.
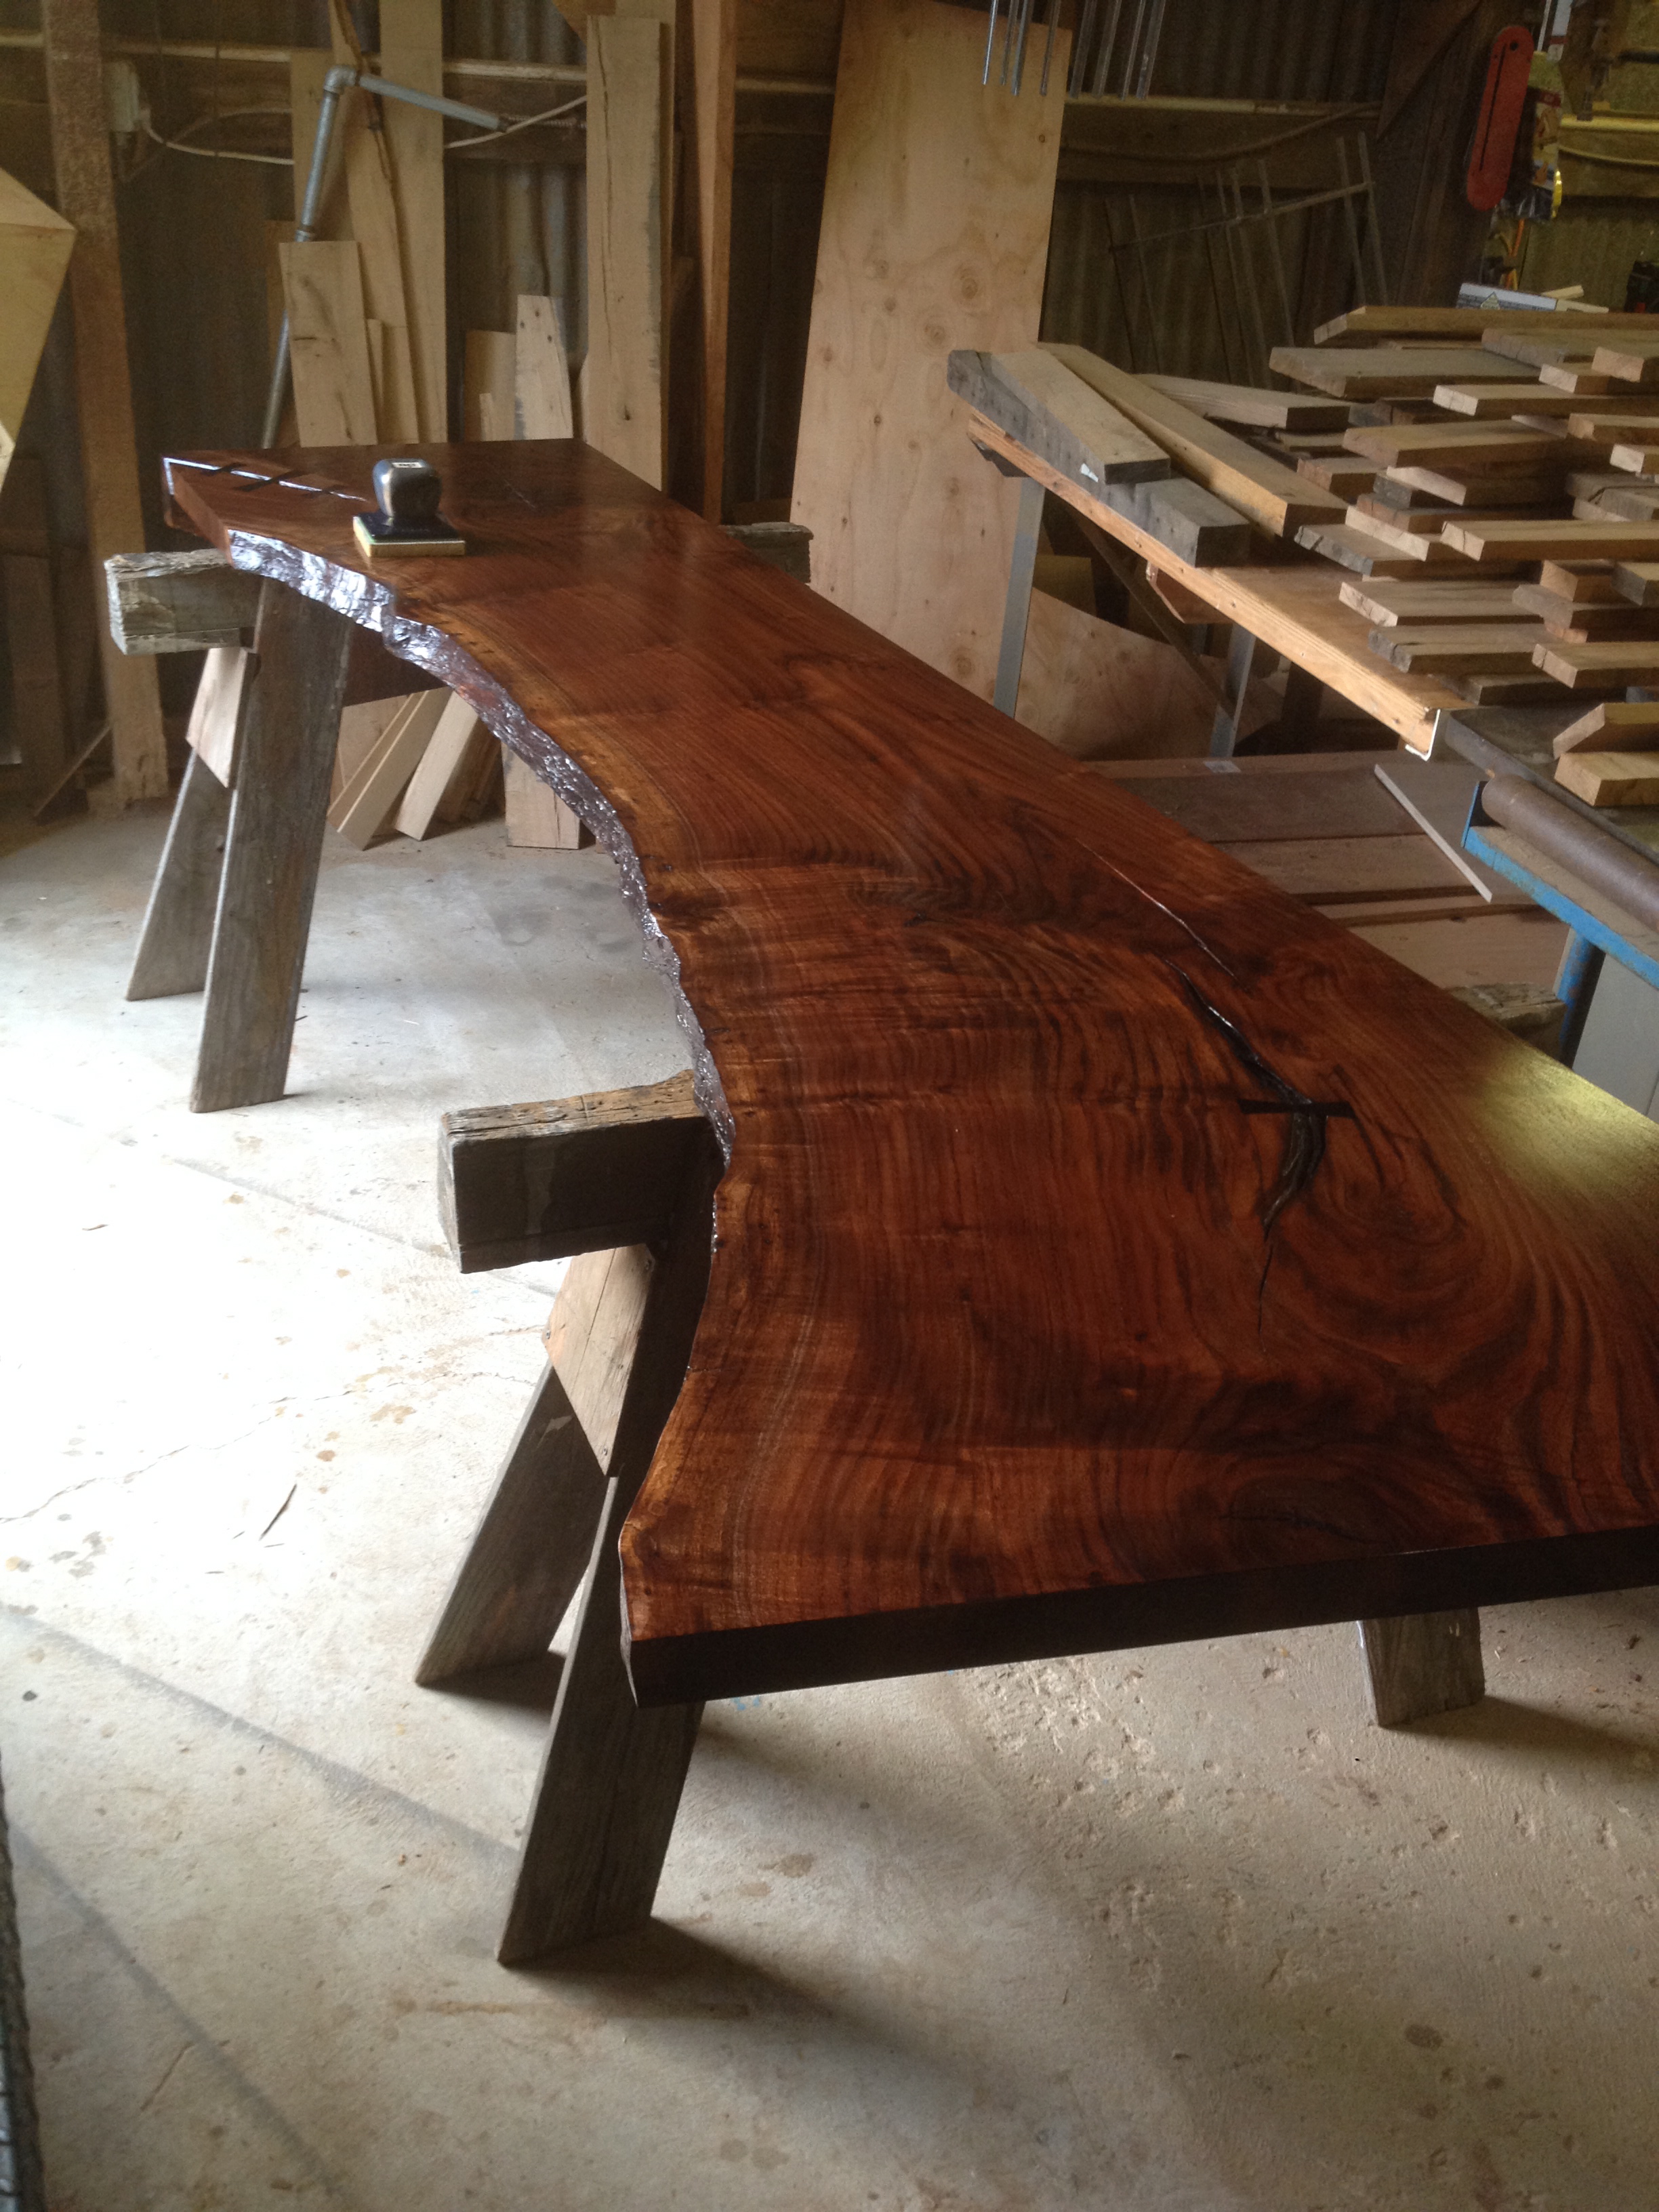
And here are a couple of shots of the finished slab.
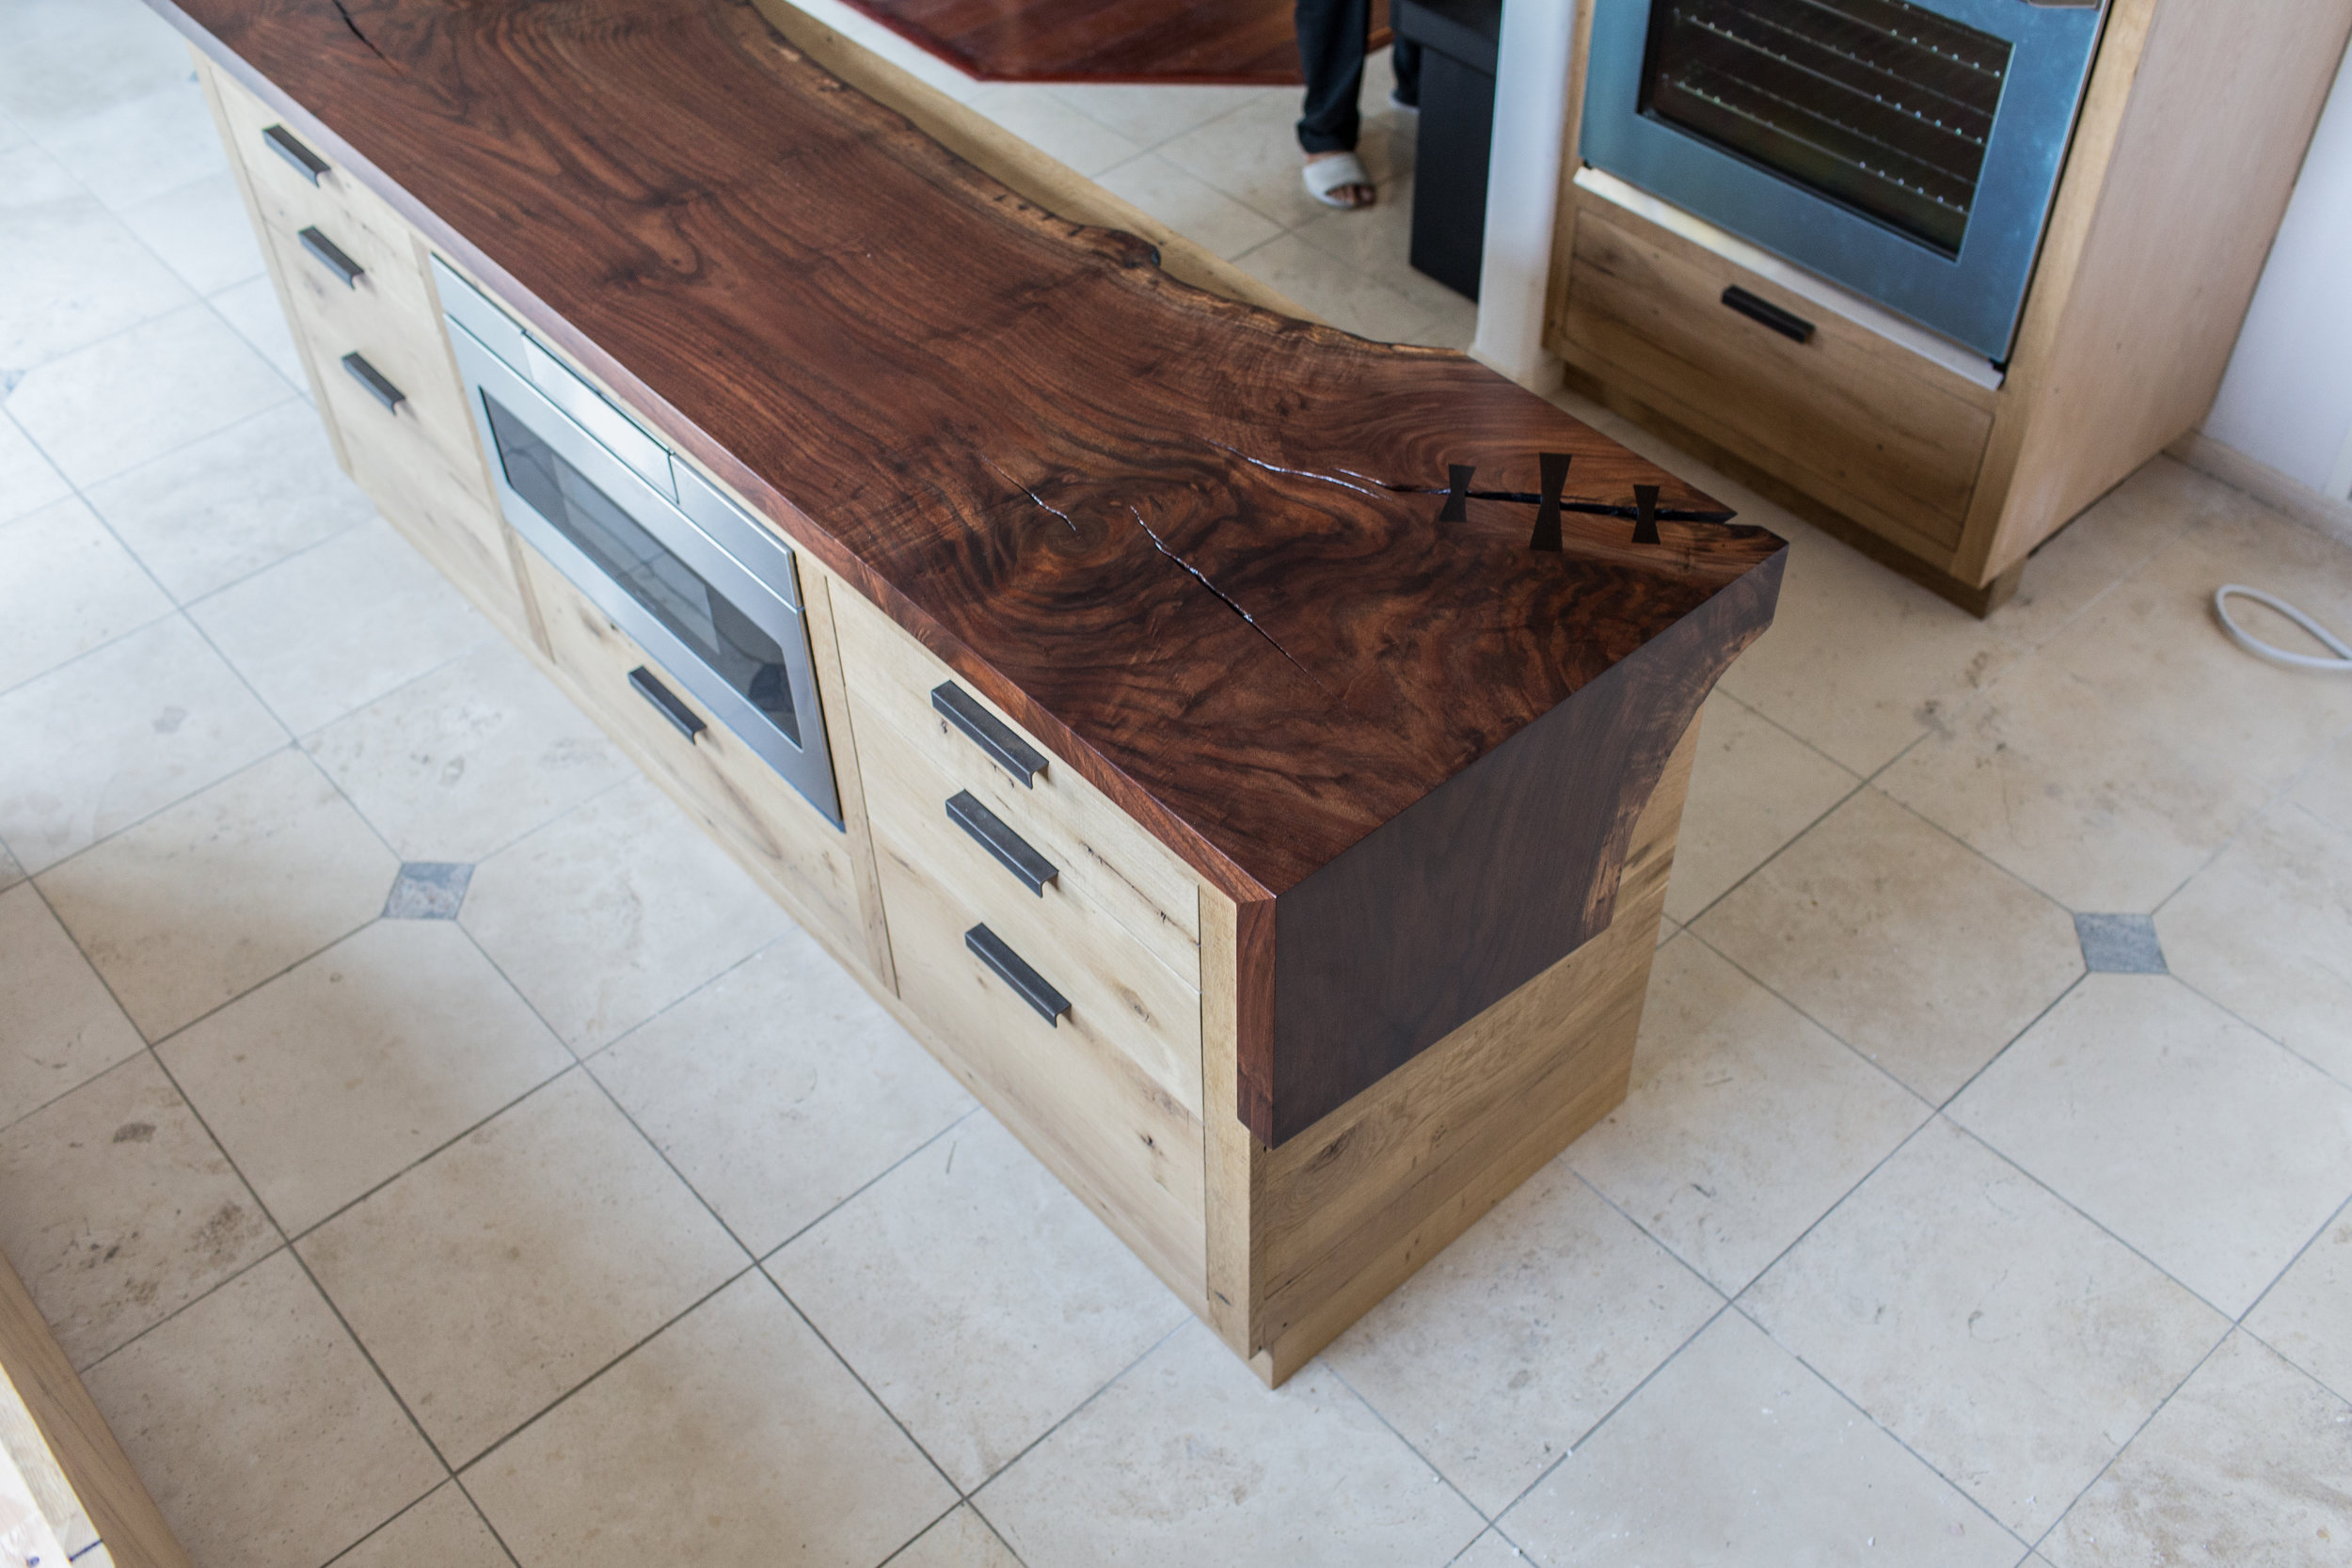


The counter overhangs the far side of the island to serve as a breakfast bar.
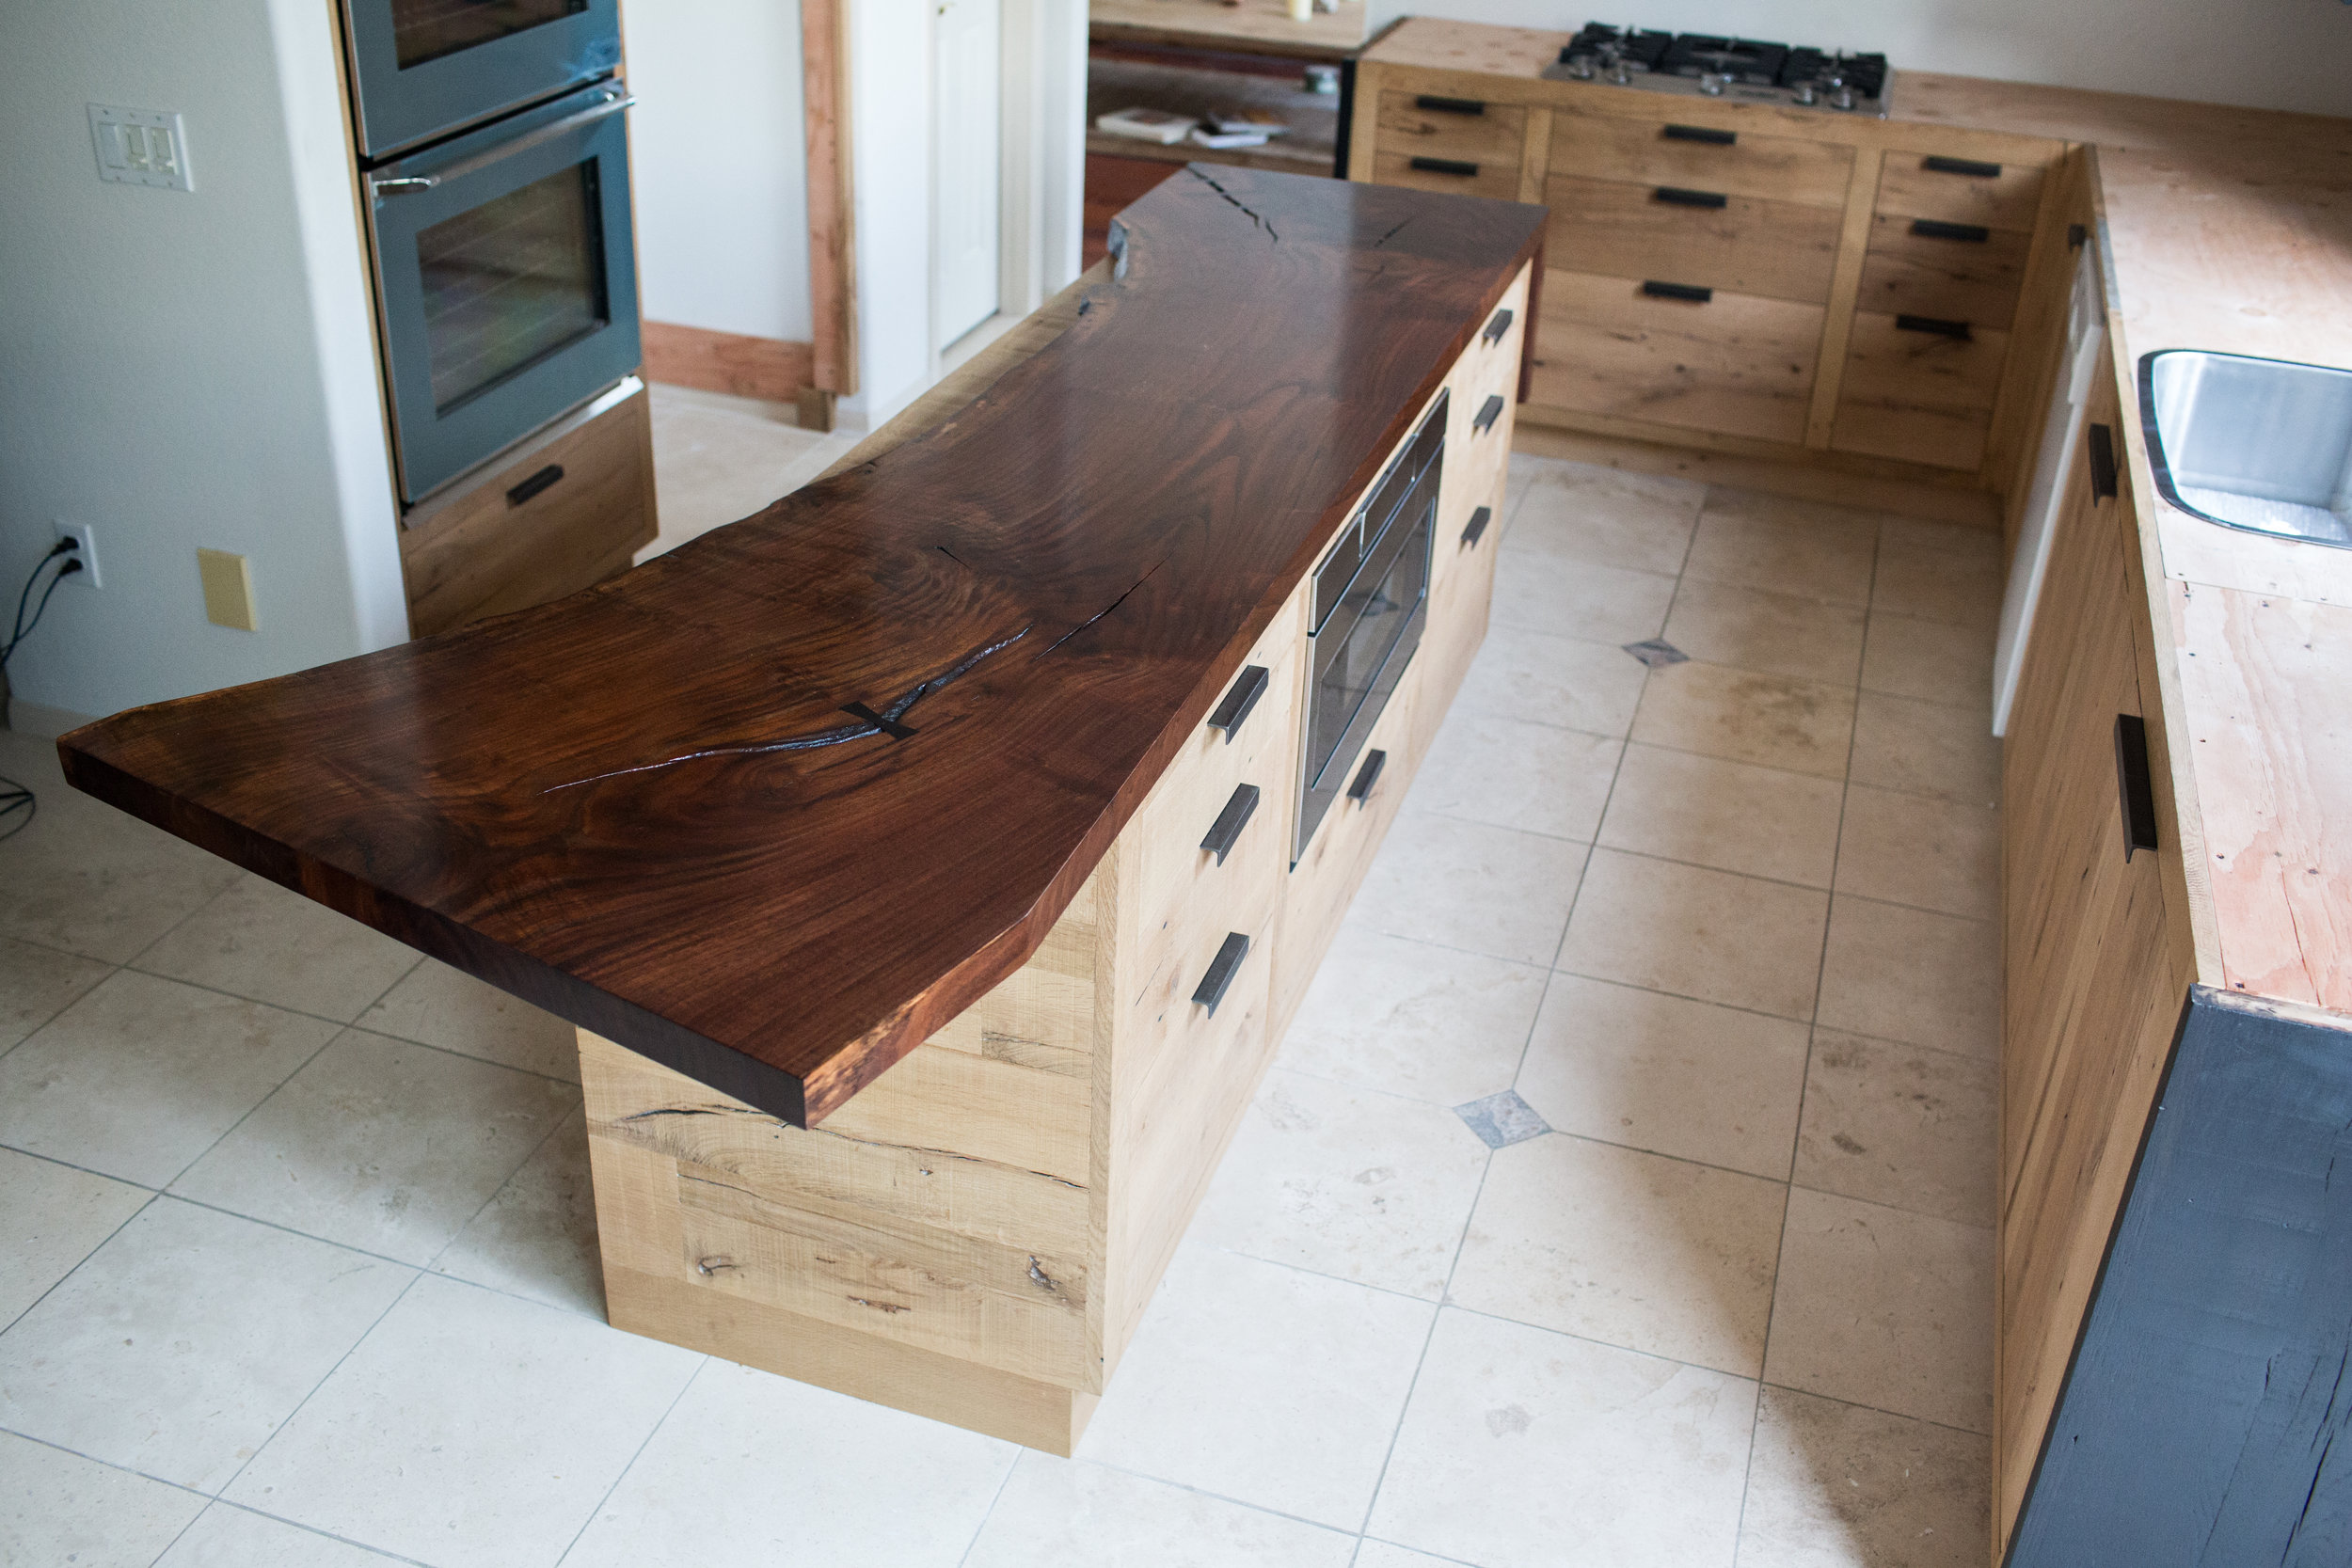
See the entire kitchen installation here.